• Home
  • About
    • Simply… Nicole
    • Simply… Sara
  • Food
  • Family
  • Lovelies
  • Contact
  • Advertise
  • Recipe Index

Vanilla Malted Marshmallow Ice Cream

September 6, 2016

Creamy vanilla ice cream with marshmallow fluff.

Vanilla Malted Marshmallow Ice Cream //

I will admit it NOW…I have been in the biggest bad mood that I think I have ever been in. We were robbed of our summer by two weeks. Our school district moved back school to start earlier than last year and the year prior.  I want to scream every morning that the alarm clock has buzzed for the past three weeks.

So for now I will stop whining and crying and I will relive summer for the few moments we have left with this Vanilla Malted Marshmallow Ice Cream.

Yosemite in the summer.

Summer for our family was eventful and beautiful all at once. We visited Yosemite and Mammoth and enjoyed it in all its beauty. We lost my beloved dog Lulu and my Grandfather. It brought my little family close together as these losses were painful. We focused on fun, beach days, and s’mores at sunset.

Crystal Cove State Park Summer Sunset

It was a joy having my kids’ home. Life seems to be bit easier (in some ways) the older they get as we get to enjoy more of the great outdoors without worrying about racing home for nap time. So yes you can say I am a bit depressed about it. I know it will get easier, but for now I will add a scoop of this Vanilla Malted Marshmallow Ice Cream in a large glass and top with root beer or maybe adult root beer (wink).

Make this Labor Day Weekend and we guarantee it will make summer last a little bit LONGER….


An end of summer treat! Vanilla Malted Marshmallow Ice Cream
Print Recipe
5 from 4 votes

Vanilla Malted Marshmallow Ice Cream

This simple Vanilla Ice Cream makes you want to hold onto summer. Serve on it's own or as a root beer float.
Prep Time10 mins
Cook Time2 hrs 35 mins
Total Time2 hrs 45 mins
Course: Dessert
Servings: 10
Author: Simply Happenstance

Ingredients

  • 2 1/2 cups heavy whipping cream
  • 1 cup milk 2 percent or whole
  • 3 tablespoons malt milk powder
  • 1 teaspoon vanilla
  • 1 jar of marshmallow cream
  • 1 cup sugar I used Zulka Pure Cane Sugar

Instructions

  • In a small bowl whisk together the milk, malt powder, sugar, and vanilla until sugar is dissolved.
  • Add in the heavy whipping cream and mix together until all is incorporated.
  • Pour this mixture into a chilled ice cream maker bowl with the paddle attached and top on.
  • Turn on the machine and let the ice cream churn for approx. 20 minutes until thickened and fluffy.
  • Turn off the machine and spoon in the marshmallow cream into the ice cream bowl.
  • Turn the machine back on and let it churn for an additional 3 minutes.
  • Turn off the machine and place the ice cream into a freezer safe container and chill for 2 hours.

Notes

I used my Cuisinart Ice Cream Maker. I keep my ice cream bowl in the freezer ALWAYS that way it's ready to use when I want to make ice cream.

Filed Under: Food

Berry Vanilla Quinoa Bowl

July 23, 2016

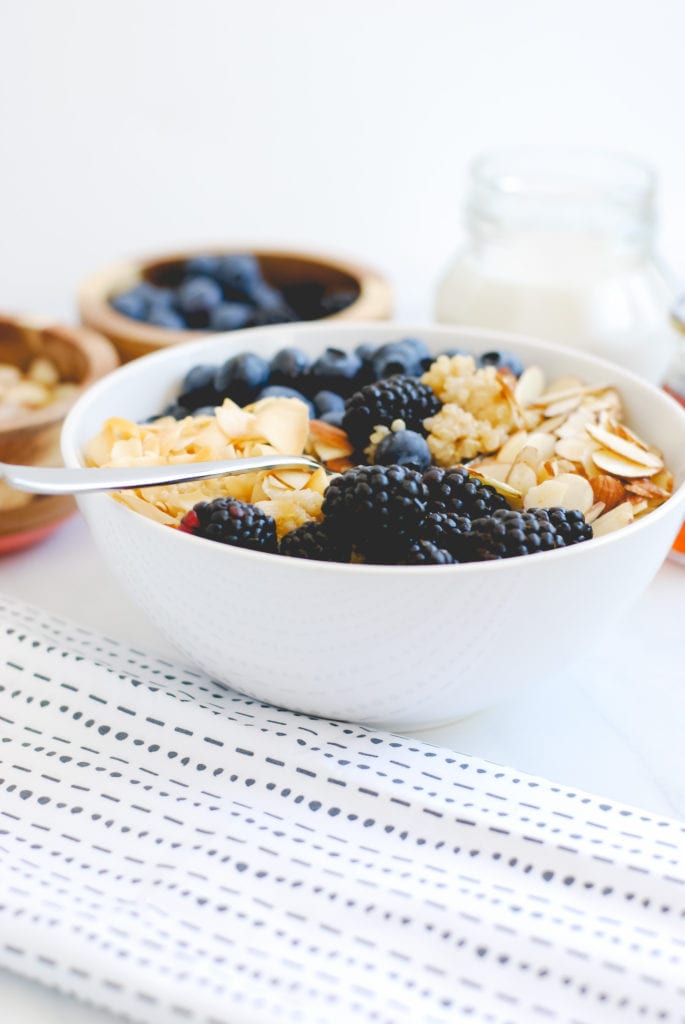
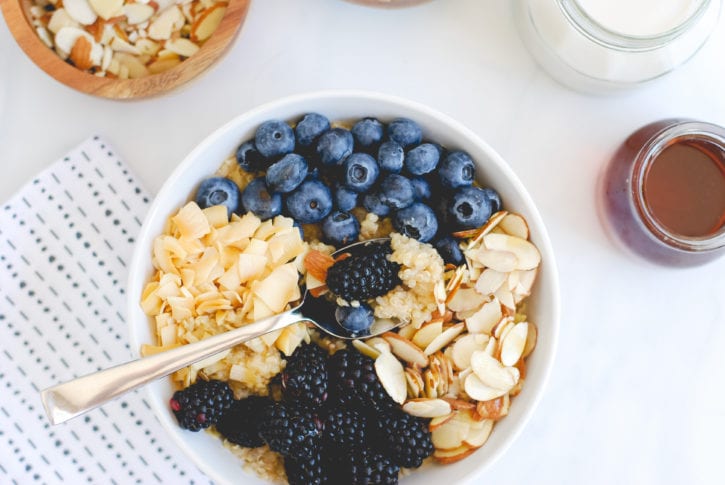
Berry Quinoa Bowl with Roasted Coconut and Slivered Almonds-35Berry Vanilla Quinoa Bowl //

Hello, friends! It sure has been a long time since Nicole and I have posted a recipe here on our sweet blog! We’ve missed you all… and are excited to be back in our creative space! 

So, my family and I recently took a summer road trip to Colorado. Driving from Southern California was going to be quite a long time in the car for our four kids — so we decided to spend one night outside of Zion National Park in Utah. (What a grand adventure that turned out to be! In fact, it was so amazing, that I think I will do a separate post on our travels sometime in the near future.) While staying in the darling town of Springdale, my husband found the most wonderful coffee shop with tasty organic treats for breakfast. He picked up a quinoa breakfast bowl, which I’ve been craving ever since!

This Berry Vanilla Quinoa Bowl was inspired by the one we shared this summer! It’s simple to make, healthy, and insanely delicious! 

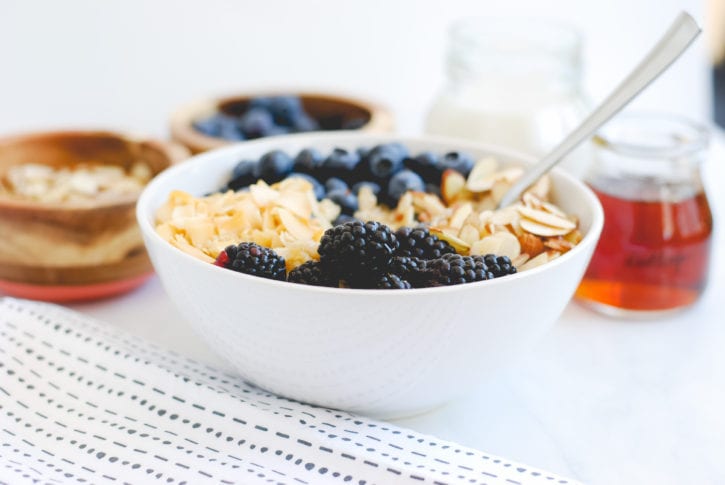
Berry Quinoa Bowl with Roasted Coconut and Slivered Almonds-18

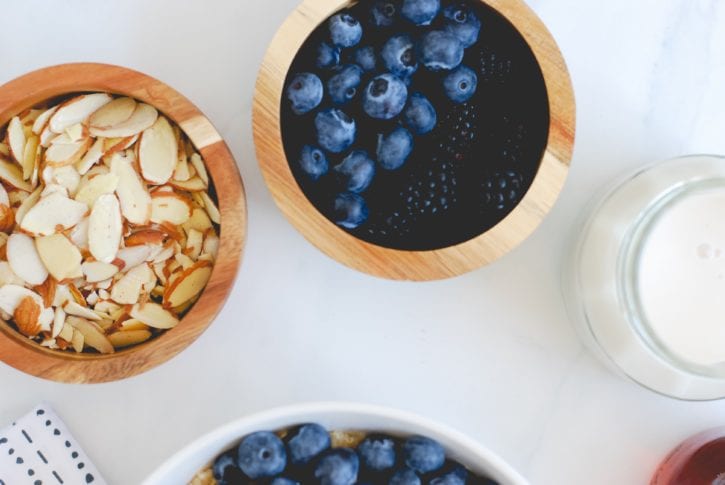
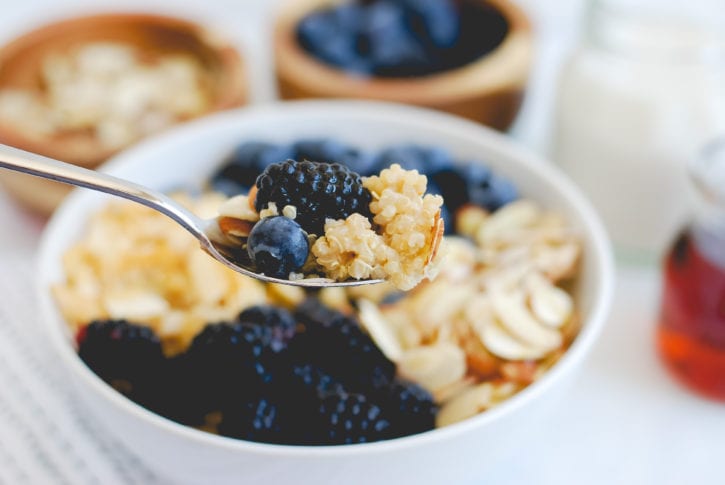
Just like making your favorite batch of soup… this quinoa breakfast bowl allows you the freedom to add a pinch of this, a little of that, and whatever fresh fruit, nuts, or seeds you have on hand. The key to making it extra decadent, is infusing the quinoa with hints of vanilla and topping it with a drizzle of pure maple syrup.

Berry Quinoa Bowl with Roasted Coconut and Slivered Almonds-15

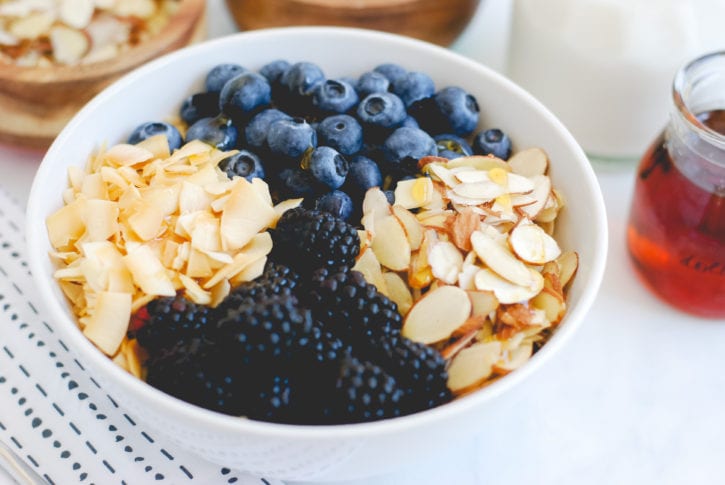
For this particular variation, I topped my prepared quinoa with fresh blueberries, sweet blackberries, roasted coconut, and slivered almonds. I then poured a drizzle of pure maple syrup with a splash of vanilla almond milk, to sweeten things up naturally… and to keep it moist. The end result was absolutely scrumptious! My four kids even approved!;)

Berry Quinoa Bowl with Roasted Coconut and Slivered Almonds-26

TIP // Quinoa will stay fresh in your fridge for up to a week. I recommend placing the cooked quinoa in individual mason jars with lids. This will create a quick, on-the-go, healthy breakfast option for you and the kids! Simply mix in your favorite toppings and enjoy! 

Berry Quinoa Bowl with Roasted Coconut and Slivered Almonds-32

Print Recipe

Berry Vanilla Quinoa Bowl

This Berry Vanilla Quinoa Breakfast Bowl is infused with hints of vanilla and topped with fresh seasonal berries, roasted coconut, slivered almonds, a splash of almond milk, and a drizzle of pure maple syrup. Not only is it irresistibly delicious, but is a clean and healthy way to start the day! It's also kid approved!
Prep Time5 mins
Cook Time15 mins
Total Time20 mins
Course: Breakfast
Servings: 4
Author: Simply Happenstance

Ingredients

  • QUINOA:
  • 1 cup uncooked quinoa
  • 2 cups unsweetened vanilla almond milk
  • 1 teaspoon vanilla extract or sliced vanilla bean
  • pinch of sea salt
  • TOPPINGS:
  • fresh berries I used blueberries & blackberries
  • roasted coconut I used these
  • slivered almonds
  • splash of unsweetened vanilla almond milk
  • pure maple syrup

Instructions

  • Rinse and drain the quinoa.
  • Place the quinoa in a medium-sized saucepan. Add the almond milk, vanilla extract (or vanilla bean split), and a pinch of salt. Bring to a high simmer, cover, and reduce heat to a low simmer for 15 minutes.
  • After 15 minutes, remove the pan from the heat and let the quinoa sit for 5 more minutes or until the almond milk is absorbed and the quinoa is cooked. (If you used the vanilla bean -- remove now and discard.) Depending on how you like the consistency and flavor -- stir in a splash of almond milk (to increase moisture), and some maple syrup to sweeten (if desired).
  • Scoop the quinoa into four bowls. Top with rinsed berries, roasted coconut, and slivered almonds. Serve with a splash of vanilla almond milk poured on top and a drizzle of pure maple syrup.

Notes

- This dish can be served chilled or warm. To serve chilled, simply place the cooked quinoa in the refrigerator for at least 30 minutes before topping with fruit, nuts, etc.
- The cooked quinoa can be stored in the refrigerator for 4-5 days. Serve at room temperature or heat it as you're ready to serve. If it's dry, simply add some more almond milk until you reach a consistency you're happy with.
- Get creative and add any seasonal fruit you like. Other optional toppings are: chia seeds, almond butter (or other nut butters), raw honey, cocoa nibs or chocolate chips, and crunchy granola.


Berry Quinoa Bowl with Roasted Coconut and Slivered Almonds-36

I hope you enjoy the recipe, friends! Let us know in the comments how you like to prepare your breakfast bowls!

For more of our favorite healthy breakfast bowl ideas, see these recipes from our archives: 

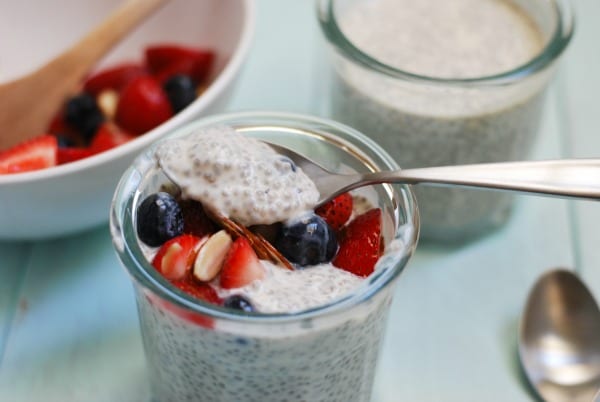
  • Vanilla Chia Seed Pudding

vanilla chia seed pudding {recipe via simplyhappenstance.com}

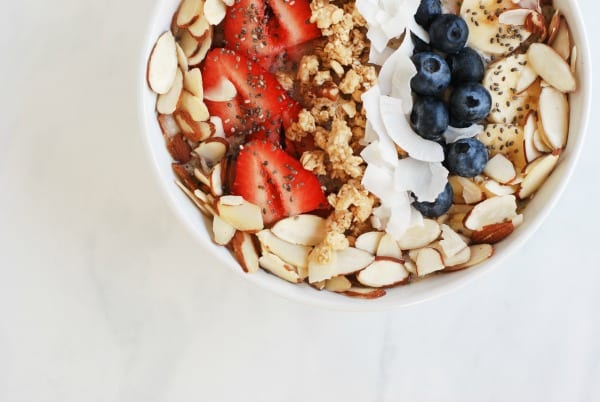
  • Energizing Smoothie Bowl

energizing smoothie bowl

  • Breakfast Power Bowl

Gluten-Free Breakfast Power Bowl || Simply Happenstance

  • Apple Pie Breakfast Bowl

Apple Pie Breakfast Bowl - a thick vanilla chia seed pudding topped with fall favorites!

sarasignature3 copy

Filed Under: Food, food

Blood Orange and Raspberry Sparkler

February 12, 2016

Sparkly and sweet just in time for Valentine's Day. Blood Orange and Raspberry SparklerBlood Orange and Raspberry Sparkler //

We are celebrating! Well kind of…it’s been a long week and we have been gone FAR too long from our little space, but really I am celebrating with this Blood Orange and Raspberry Sparkler because I made it through a short juice cleanse.

Honestly we are happy to share our favorite foods and family moments, but at the moment life seems a bit busy. I think most of you can attest to that. How did we go from the holidays to mid February? It can only mean one more thing, it’s another HOLIDAY!

San Pellegrino for Blood Orange and Raspberry Sparklers

For this Valentine’s Day we hope to keep things simple yet fun. We love to celebrate with a special meal at home and this year we will be enjoying a couple of these easy, tasty, bubbly Blood Orange and Raspberry Sparklers.

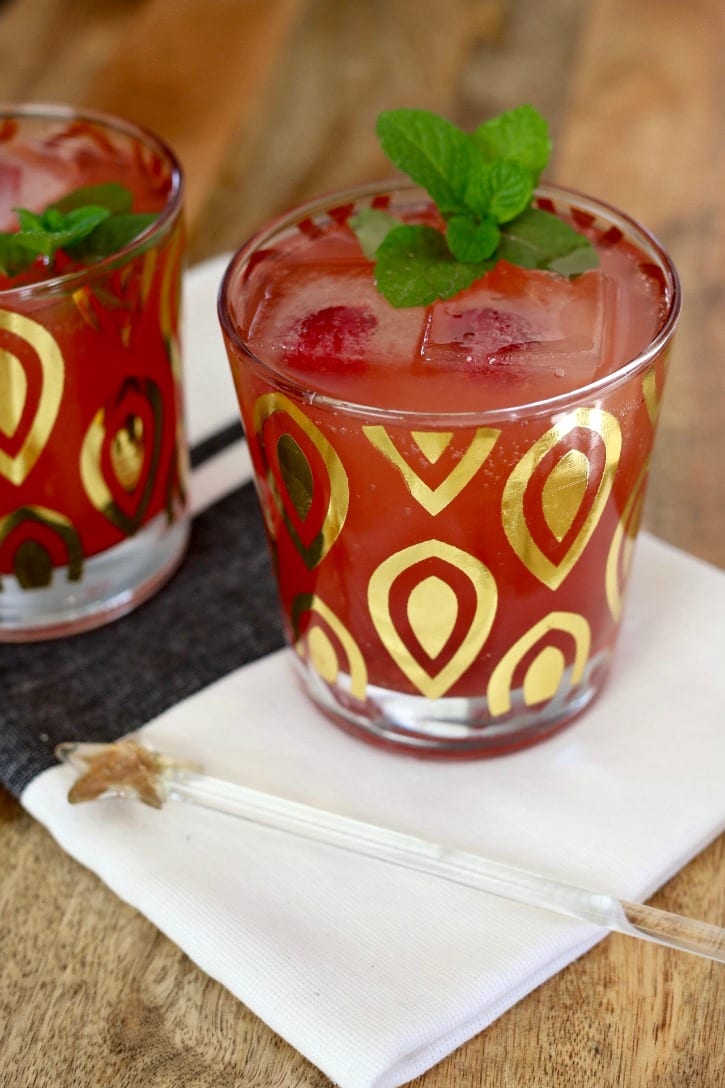
Bubbly Blood Orange and Raspberry Sparkler

This pretty pink cocktail has a few ingredients but it makes for a fun at home celebration special. But should you be one of those couples that does plan ahead and make dinner reservations, we recommend making this beverage as a pre-dinner toast. If you are looking for some more recipe ideas for this holiday weekend, check out our recipe index. Wishing you all a wonderful and Happy Valentine’s Day!

Blood Orange And Raspberry Sparkler for Valentine's Day
Print Recipe
5 from 2 votes

Blood Orange and Raspberry Sparkler

Prep Time20 mins
Cook Time5 mins
Total Time25 mins
Course: Cocktail
Servings: 3
Author: Simply Happenstance

Ingredients

  • 1 cup San Pellegrino Aranciata Rossa
  • 1/2 cup sparkling lime water
  • 2 tablespoons raspberry simple syrup recipe below
  • 1 ounce St. Germain
  • 1 1/2 ounce Vodka
  • 1 cup sugar
  • 1/4 cup raspberries frozen or fresh
  • lime
  • mint
  • ice
  • water

Instructions

  • In a small sauce pan add two cups water to one cup sugar.
  • Bring to a boil and then switch to medium love heat.
  • Add the raspberries.
  • Once sugar is fully dissolved, remove from heat and let cool.
  • Next add sparkling water, pellegrino, simple syrup, St. Germain, and Vodka to a chilled martini shaker.
  • Shake lightly.
  • Pour into 2-3 glasses and garnish with a squeeze of lime, ice, and a mint sprig.

nicole signature via simply happenstance

Filed Under: Food

Chocolate Chip Peppermint Cookies

December 17, 2015

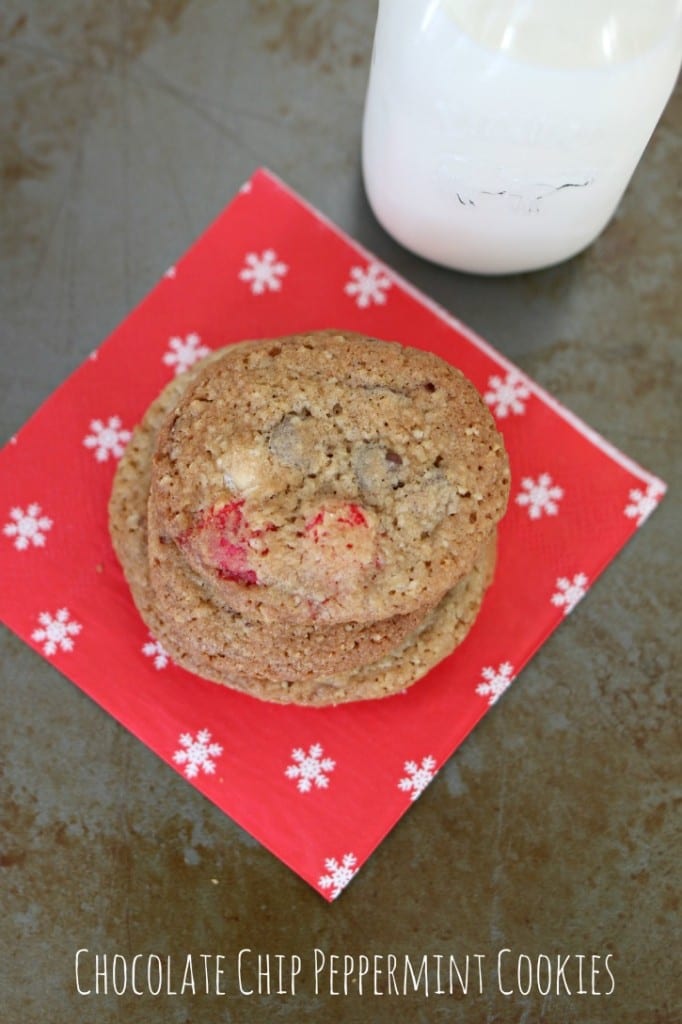
These Chocolate Chip Peppermint Cookies are fun and easy way to make a large amount of festive treats. Perfect for cookie exchanges.

Chocolate Chip Peppermint Cookies //

We are just days away from school being out and all of the holiday fun to begin. Like many of you, the last couple weeks leading up to the holiday break are packed full of performances, gift exchanges, and class room parties….not to mention a cookie exchange or two thrown into the mix. For the past few years, I have attended one of my dear friends fun and festive cookie exchanges. Her rules are simple…7-9 dozen of the same cookie. Homemade and in the comments of the Evite, she monitors to make sure we all have a variety of cookies to share. 7-9 dozen cookies you say….crazy right!?, but not so crazy once you have attended one of her parties. Every year she rounds up all of the wrapping (bags, bells, boxes, and tags) so you can create gifts for teachers, neighbors, friends, heck even for the mailman, and sets them out on a large table. Once you do your rounds of picking all of the 7-9 dozen cookies you need, you sit down with a celebratory drink and start wrapping cookies in the prettiest of ways.

It’s a fun way to visit with friends, meet new ones, and find a new favorite cookie or two. This year, like last year, I be bringing these yummy and simple, Chocolate Chip Peppermint Cookies. The recipe calls for a few ingredients, but the kicker is that it makes approximately 112 cookies. The perfect recipe for an exchange as it is only one batch of cookies, and best of all I made mine ahead of time and was able to freeze the dough.

Every year I leave this cookie exchange; happy, festive, and accomplished. Sara and I hope you like this recipe and try it over the next week with your kiddos, as we are sure they will love the sweet combo of peppermint candy and chocolate chips. Let us know what you think?, we hope you bake a batch before company arrives.

Chocolate Chip Peppermint Cookies are an oldie but a goodie. They make almost 9 dozen in one batch.
Print Recipe
4.50 from 2 votes

Chocolate Chip Peppermint Cookies

Prep Time25 mins
Cook Time8 mins
Total Time33 mins
Servings: 9 dozen
Author: Simply Happenstance

Ingredients

  • 2 cups softened unsalted butter
  • 12 ounces semi-sweet chocolate chips
  • 12 ounces white chocolate chips
  • 1 bag of White Chocolate Peppermint M&M's
  • 4 cups flour
  • 2 cups brown sugar
  • 2 cups sugar
  • 5 cups of oatmeal blended
  • 2 teaspoons baking soda
  • 2 teaspoons baking powder
  • 1 teaspoon salt
  • 4 eggs
  • 2 teaspoons of vanilla

Instructions

  • Measure oatmeal and blend in a blender of food processor until it's a fine powder.
  • Add oatmeal to a large bowl along with the flour, salt, baking powder, and baking soda.
  • Whisk lightly to blend the ingredients and set aside.
  • In the bowl of a mixer blend the butter until smooth.
  • Add the sugars and blend until light and fluffy.
  • Add the eggs and vanilla until blended.
  • Next add the oatmeal/flour mixture one cup at a time. Blending in between in short periods so that you don't over mix the cookies.
  • Once done with the flour add both of the chocolate chips and m&ms and mix until incorporated by hand or by mixer.
  • Roll the cookies into 1-2 inch balls and set on a baking sheet. Bake for 8-10 minutes.

nicole signature via simply happenstance


Filed Under: Food

Snowball Cookies

December 13, 2015

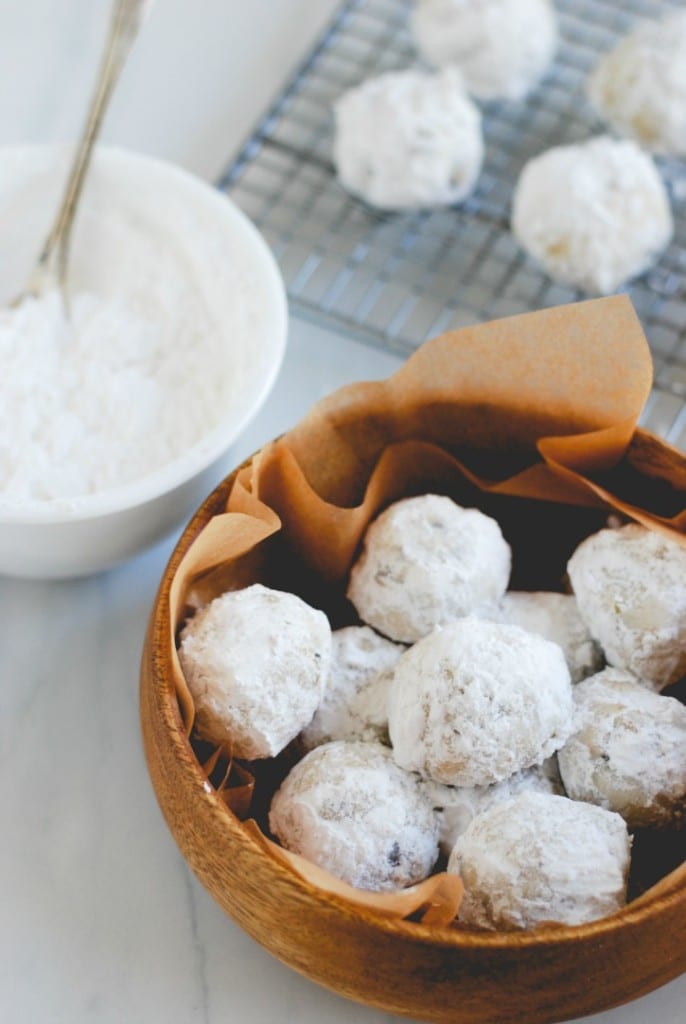
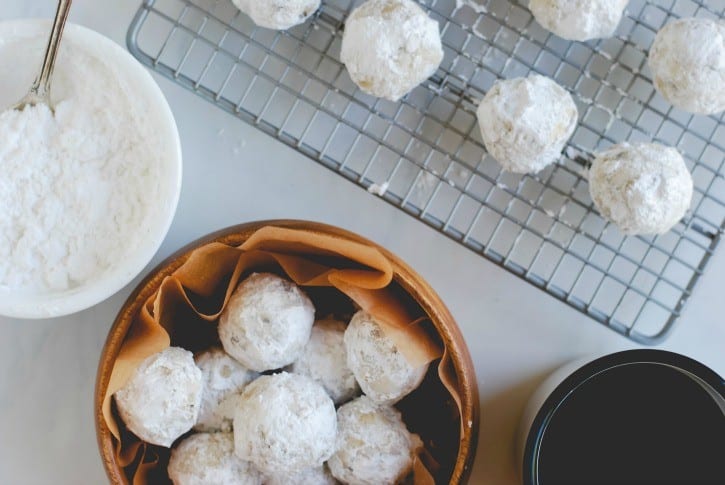
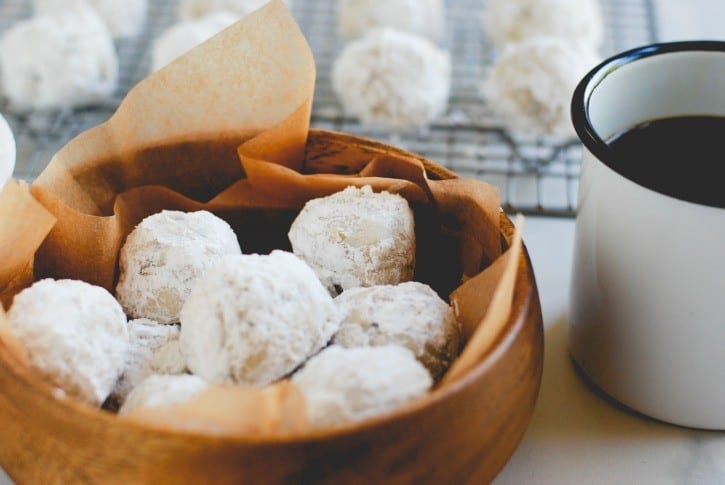
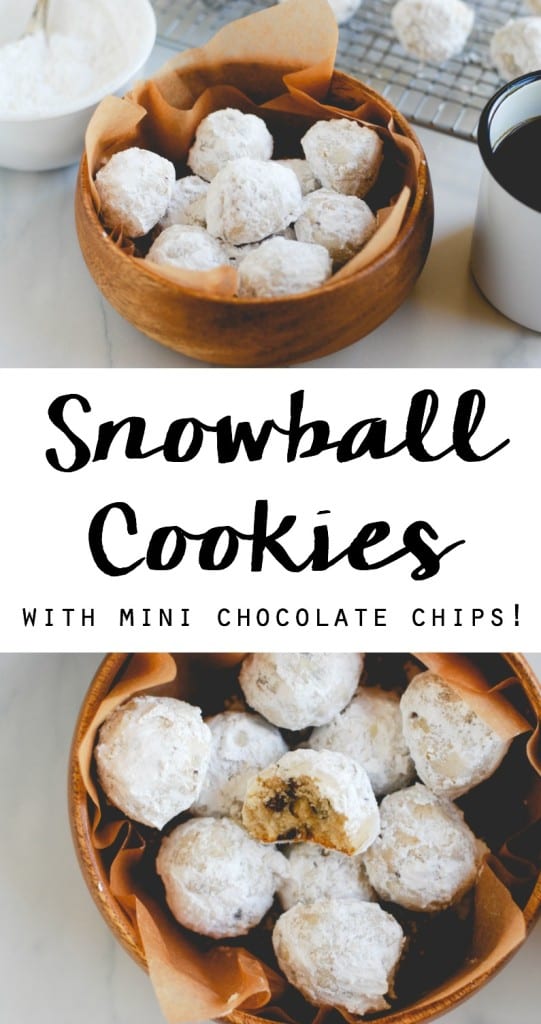
Snowball Cookies - a traditional Christmas cookie with added chocolate chips! (Recipe via simplyhappenstance.com)Snowball Cookies //

Cookies… they’re definitely one of my top 5 favorite treats. I love how simple they are to make, that they come in the perfect size for indulging, and that there is usually an abundance of dough… so you have plenty to share!

During the holidays, I tend to try out some new cookie recipes along with a few tried-and-true faves. At bakeries, I’m always tempted by the traditional wedding cookies. They’re called varying names depending on the culture (Italian Wedding Cookies, Mexican Wedding Cookies, Polvorones, Russian Tea Cakes, and even Snowball Cookies — to name a few), and are baked for celebrations. Typical recipes call for nuts to be added, but in this particular recipe, I opted to substitute mini (semi-sweet) chocolate chips for the nuts to make it more kid-friendly. The outcome was heavenly… the kids couldn’t have been happier! 

Snowball Cookies (Recipe via simplyhappenstance.com) #ChristmasCookies

Growing up, I always looked forward to the Christmas tin of cookies that my Aunt Jean would make for our family. She would include a mixture of sweet treats that she baked up fresh in her kitchen (sugar cookies, fudge, seven layer bars, chocolate chip cookies, and these wedding cookies). It’s a tradition that I LOVE and try to uphold each year. 

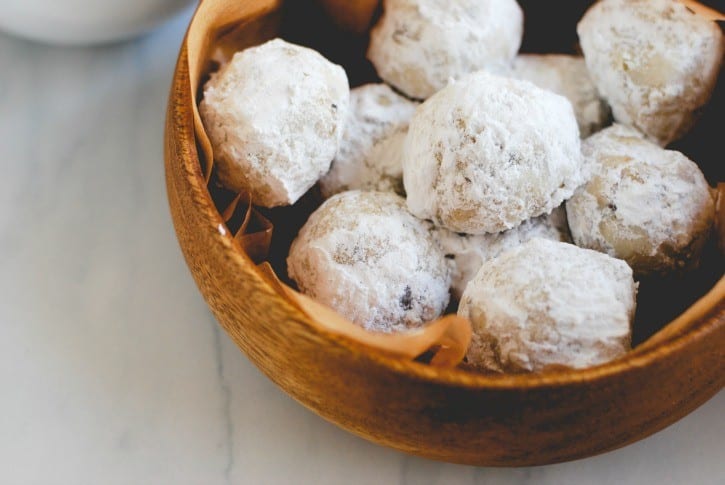
These Snowball Cookies with Mini Chocolate Chips have a rich buttery taste and melt-in-your-mouth with each bite. They’re delicate and flavorful… a lovely treat to share with family and friends over the holidays, and perfect to include in those cute holiday tins!

Snowball Cookies (Recipe on simplyhappenstance.com)

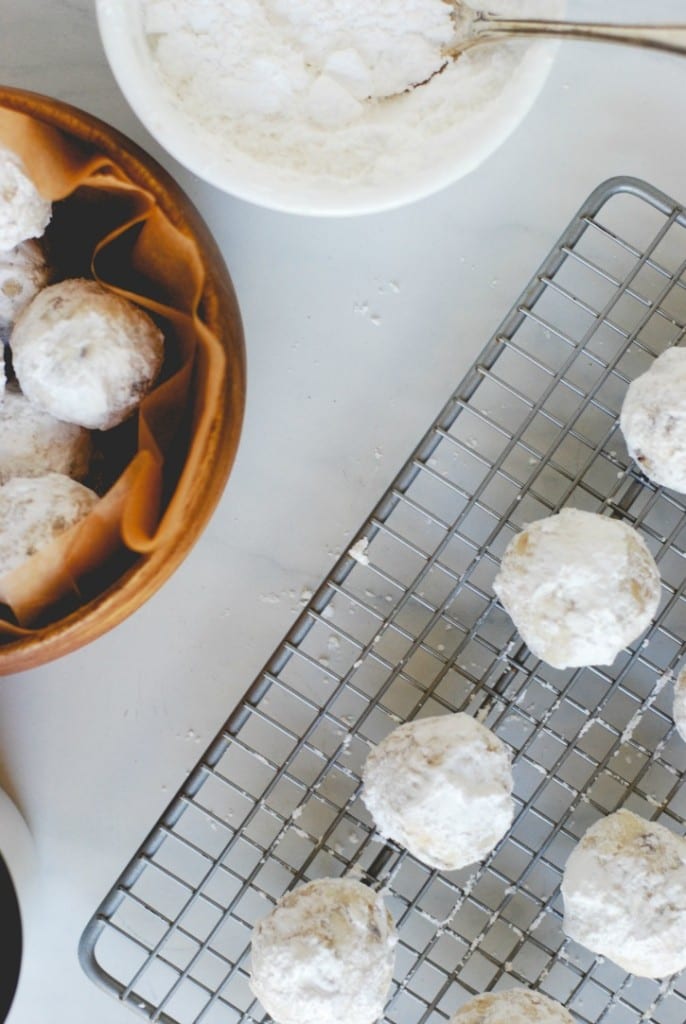
These little cookies are great for little hands to help with, too. Preparing the simple dough, adding in the mini chocolate chips, rolling into balls, and covering in powdered sugar are fun tasks in preparing these little bites of joy! 

Snowball Cookies (Recipe via simplyhappenstance.com) #ChristmasCookies #CookieExchange #EdibleGifts

TIPS //

  1. Use only real butter for best cookie results! You won’t be sorry!
  2. Wait for the cookies to cool for a few minutes before rolling in powdered sugar. This will allow them time to cool (so as not to burn your hands) and set properly so that they don’t crumble. 
  3. Before serving, you can give an additional roll in powdered sugar to make them look freshly dipped in snow (wink, wink)!
  4. The dough is stiff enough to work with right away, or if you prefer, you can roll them into balls and freeze in an air-tight container.  The raw cookies can go straight from the freezer to the oven by adding 2 to 3 minutes to the original cooking time. 

Snowball Cookies Made With Mini Chocolate Chips! (Get the Recipe on simplyhappenstance.com)

I hope that you and your families truly love the “mini” addition in this traditional cookie recipe! Making half the dough with mini chocolate chips and half with nuts (chopped pecans would be my choice!) would be a delicious way to share these treats with those you love! Warmest holiday wishes to you all… and Happy Baking!!!

Print Recipe

Snowball Cookies

Prep Time10 mins
Cook Time7 mins
Total Time17 mins
Course: Cookies
Cuisine: Dessert
Servings: 4 dozen
Author: Simply Happenstance

Ingredients

  • 1 cup unsalted butter softened
  • 1/2 cup powdered sugar
  • 1 teaspoon vanilla
  • 2 1/4 cups all-purpose flour
  • 1/2 teaspoon sea salt
  • 1 cup mini chocolate chips I used semi-sweet
  • Additional powdered sugar for rolling

Instructions

  • Preheat oven to 375°F. Line cookie sheet with parchment paper.
  • Mix softened butter, 1/2 cup powdered sugar, and vanilla with an electric mixer until fluffy.
  • Mix dry ingredients in a separate bowl: flour & salt. Slowly, add the flour mixture to the butter/sugar until the dough comes together. Fold in the mini chocolate chips.
  • TIP // If the dough is too soft or sticky, chill it until you can work it easily with your hands (30 minutes or so).
  • Using a cookie scoop or spoon, scoop small amounts of dough (approx. 1-2 tablespoons worth) and roll into balls using the palms of your hands. Place balls of dough on prepared cookie sheets.
  • Bake cookies for 7-9 minutes until bottoms are just slightly brown. Remove from oven and cool for a few minutes, until you can handle them.
  • Fill a small bowl with sifted powdered sugar and roll each cookie in the sugar until coated. Place on a rack to cool. (Once cookies are cooled, or just before serving, you can re-roll them in more powdered sugar to look like they're freshly covered in "snow"). Enjoy!

Notes

Original Recipe Inspiration From: Crazy for Crust


Snowball Cookies

  sarasignature3 copy

Filed Under: Food

Blood Orange and Thyme Margaritas

October 25, 2015

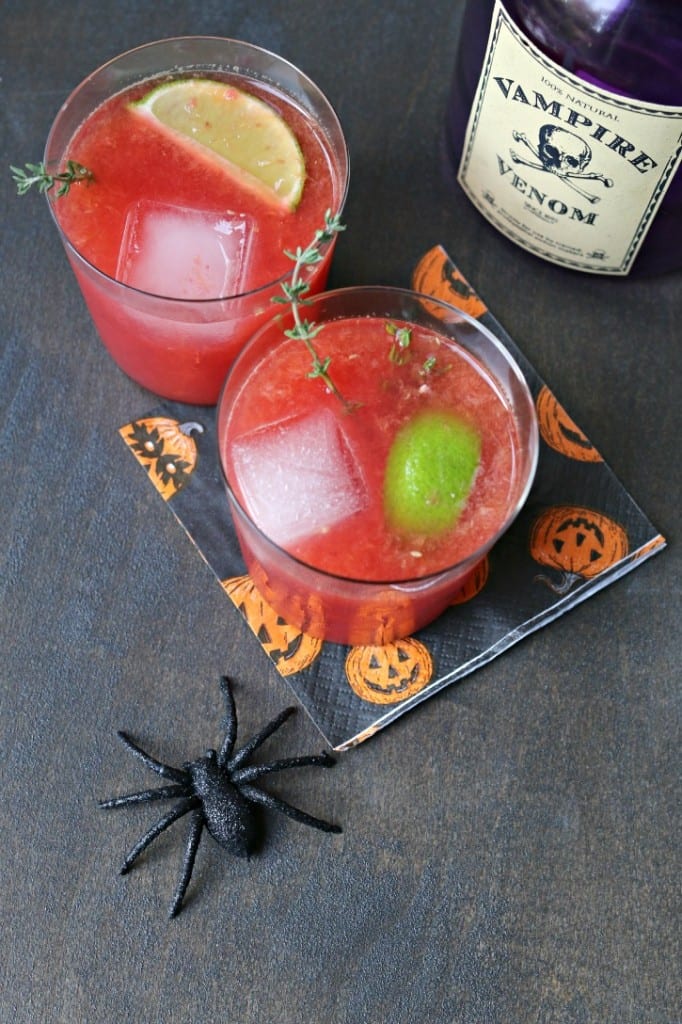
Spooky and tangy these Blood Orange Thyme Margaritas are perfect for Halloween.Blood Orange and Thyme Margaritas //

Boo! Can you believe Halloween is in less than a week?! This is my favorite time of the year. I love that we go from Halloween straight onto Christmas. What I don’t like is that it happens within a blink of an eye. In order to enjoy our Halloween decor, I skip over the autumn fare and go straight to Halloween. My kids love decorating the house, so I like to put decorations up in mid September until Halloween, and then I decorate for fall for Thanksgiving. Is that what you do? 

With Halloween falling on a Saturday, we plan on staying in our neighborhood and making a big pot of Crockpot Spaghetti and these Blood Orange Thyme Margaritas for the friends that stop by. Who said adults can enjoy a few treats on Halloween? [Read more…]

Filed Under: Food

Next Page »
  • Email
  • Facebook
  • Instagram
  • Pinterest
  • RSS
  • Twitter

About

bioSara and Nicole are sorority sisters that simply “happened” to end up in the same small town. They have many things in common, which have set the tone of their blog. They hope that you will join them in their journey of motherhood, dreams that may be, the daily life, and their passion for cooking, yoga, fashion, and design!

SIgn Up For Our FREE Newsletter!

Sign up to receive email updates and to hear what's going on with Simply Happenstance!

Categories

Archives

recent pins

  • Strawberry Tropical Cocktail - Simply Happenstance
  • pineapple princess - the summer's most delicious cocktail
  • Festive Amaretto Orange Margarita

Copyright 2015 • Simply Happenstance • Grits Design


All personal images and videos are copyright to Simply Happenstance. All other images are copyright to their respective owners.
We would love for you to use our images, but please cite www.simplyhappenstance.com.