{Simply} Muffins
basic batter + your choice of add-ins = pure yumminess!

Who doesn’t love a tasty muffin?
This is the perfect recipe…
a simple muffin batter, with endless flavor possibilities!
basic batter + your choice of add-ins = pure yumminess!
Who doesn’t love a tasty muffin?
This is the perfect recipe…
a simple muffin batter, with endless flavor possibilities!


Warm… gooey… sweet…
D E L I C I O U S
I’ve yet to meet anyone who doesn’t love french toast…
How great would this be on a lazy weekend at home?
This recipe
{adapted from the Pioneer Woman},
is super simple to make.
You can prepare it the night before and bake in the morning,
waking your family to the smells of this decadent dish!
Or perhaps you can make it during the day,
while the kids are at school,
and surprise them with breakfast for dinner
{our personal favorite around here}!

* Butter, for greasing
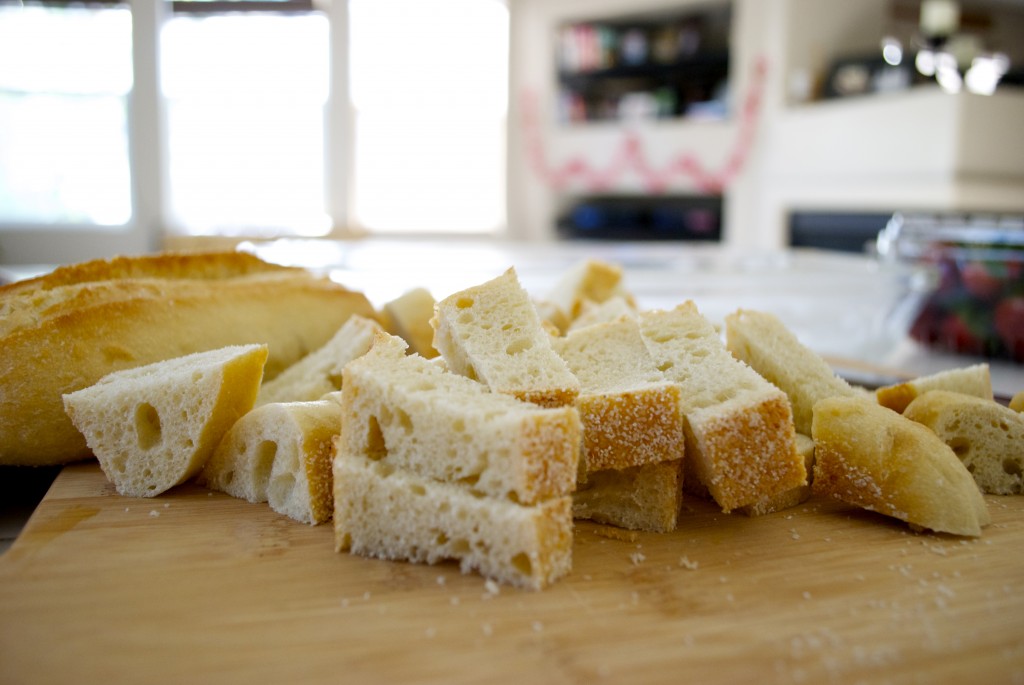
* 1 loaf of crusty sourdough or french bread
{or a few mini loafs}
* 6 large eggs
* 2 cups of sweetened vanilla almond milk
{or milk of your choice}
* 1/2 cup brown sugar
* 1/2 cup granulated sugar
* 1 tablespoon of vanilla extract
{2 tablespoons vanilla if you used regular milk}
{Topping}
* 1/2 cup flour
* 1/2 cup firmly packed brown sugar
* 2 teaspoons of pumpkin pie spice
{or 1 tsp. cinnamon & 1/4 tsp. nutmeg}
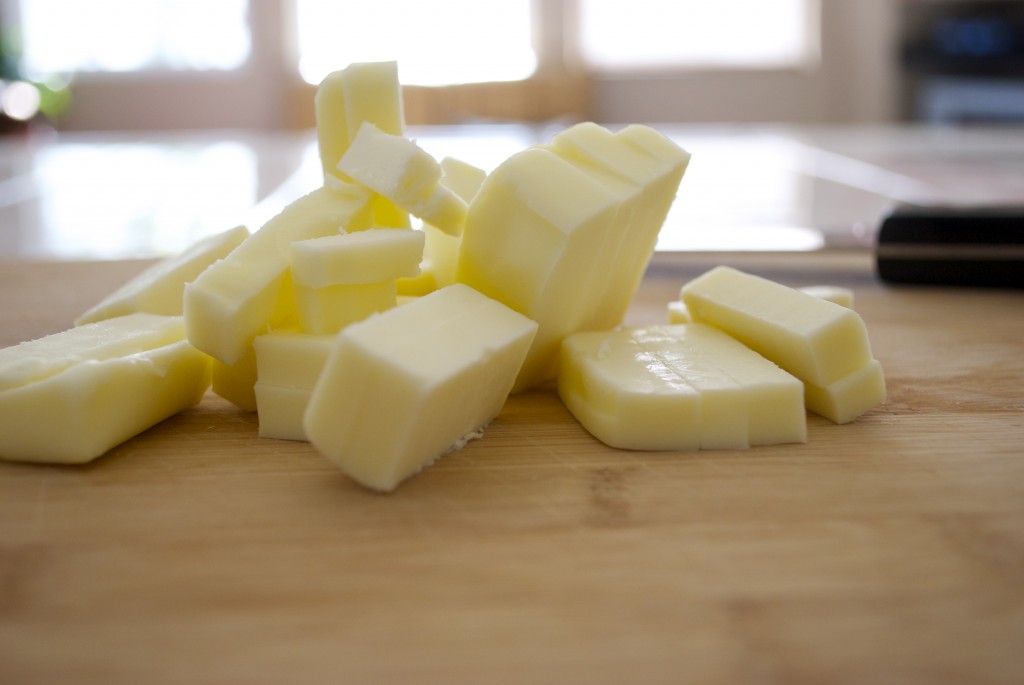
* 1 stick of cold butter, cut into pieces
* chopped pecans {optional}
{Serve with the Following}
* butter
* warm maple syrup
* fresh berries
{Preparation}
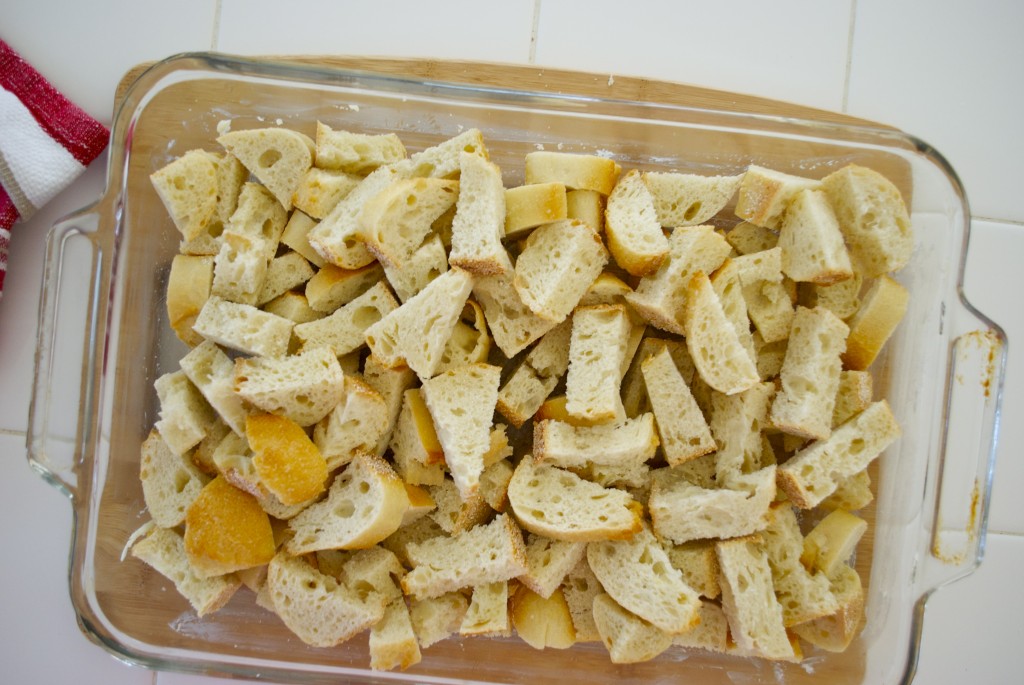
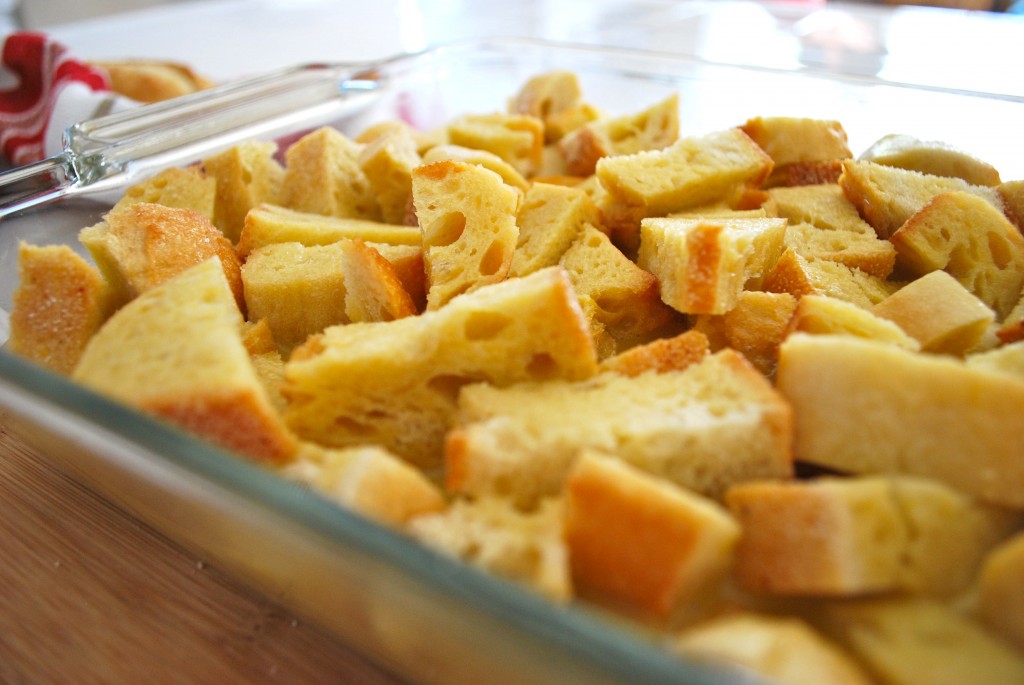
For the French toast: Grease the baking pan with butter.
Cut the bread into cubes, and evenly distribute in the pan.
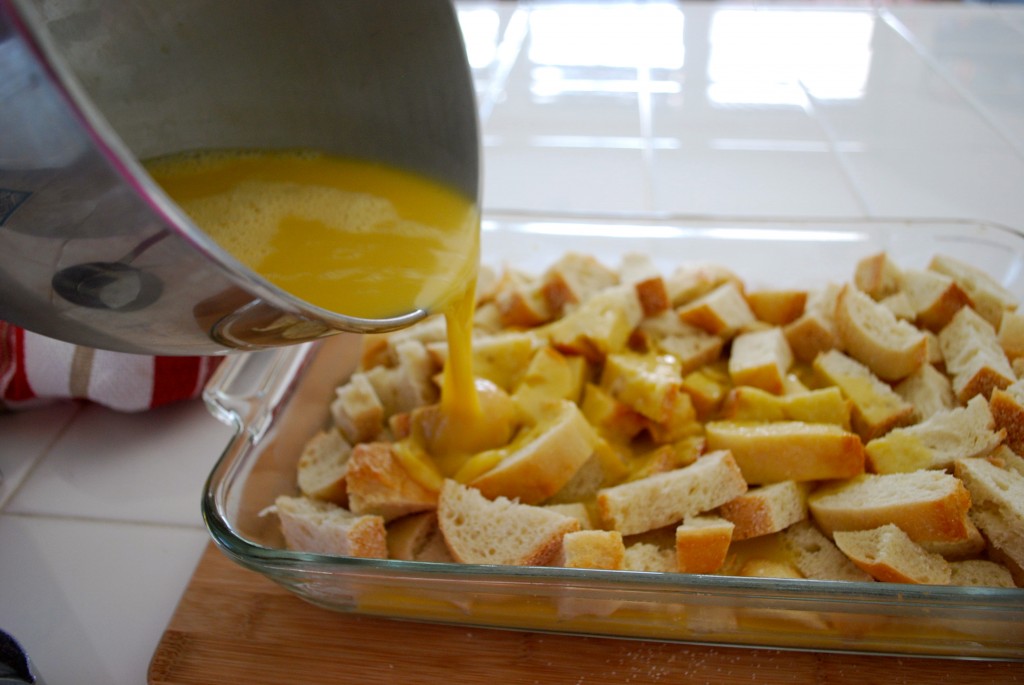
Crack the eggs in a big bowl.
Whisk together the eggs, milk, brown sugar, granulated sugar and vanilla.
Pour evenly over the bread.
Cover the pan tightly and store in the fridge until needed {preferably overnight}.
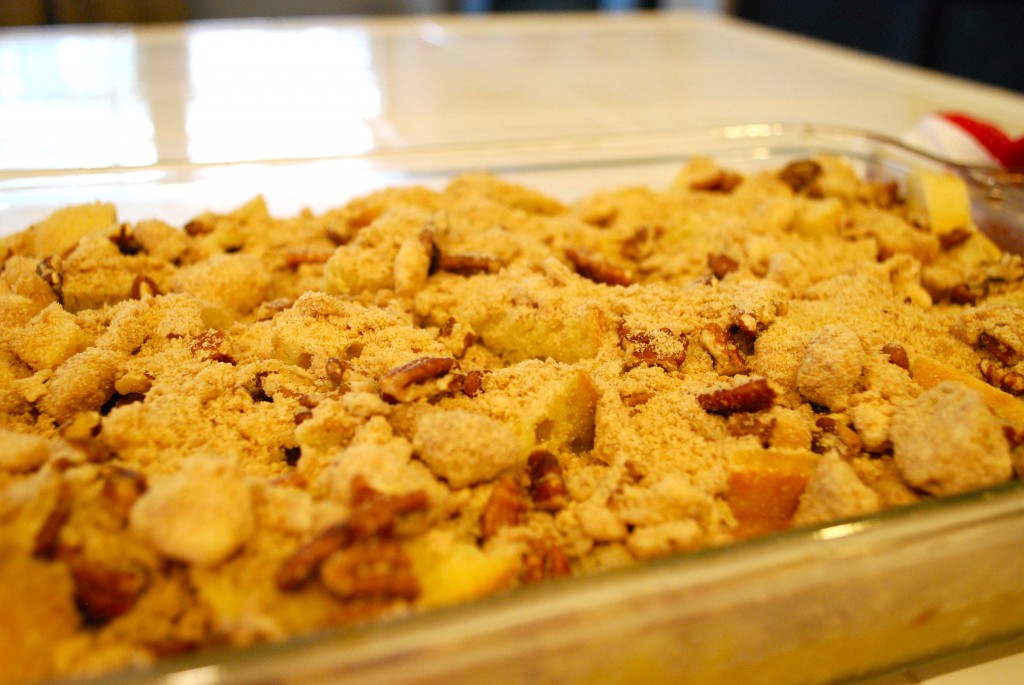
For the Topping: Mix the flour, brown sugar, pumpkin pie spice
{or cinnamon & nutmeg}, salt and pecan pieces in a separate bowl.
Stir together using a fork.
Add the cold pieces of sliced butter with a pastry cutter,
and mix it all together until the mixture resembles fine pebbles.
{Note: since I am always looking for ways to make things easier and kid-friendly,
you can mix the dry ingredients with butter in a zipblock bag.
Use your hands or seal the bag and let the kids mix until topping
is combined and in crumbled pieces}.

Store the topping mixture,
in the sealed bag,
in the fridge until ready to use.
When you’re ready to bake the casserole,
preheat the oven to 350 degrees F.
Remove the casserole from the fridge and sprinkle on the topping.
Bake for 45 minutes for a softer, more bread pudding texture,
or for 1 hour + for a firmer, crisper texture.
Scoop out individual portions.
Top with butter, a drizzle of maple syrup and fresh berries!

Without a doubt, this dish is one of my family’s favorites!
I seriously think the kids and I licked our plates clean!
You just can’t go wrong when butter, cinnamon, bread & syrup are in the mix!
E N J O Y !
{Behind the Scenes}
It’s getting harder and harder to sneak a few photos past my older boys these days
and Mr. Amazing just wasn’t cooperating with the camera,
as you will see {he is nearly two, after-all}!
Here is one of Miss Blue, Pixie {one of our two cats}, & my littlest man… Finn.


Adapted by Original Nestle Toll House Chocolate Chip Cookie Recipe:


One of the major hiccups in my quest to prepare and eat healthy meals each day
is that my husby doesn’t come home each night for dinner
{those of you that are also fire wives, have husbands in the military, or that travel can most likely relate}.
I do my best to prepare meals for my children that are balanced and nutritious,
but let’s face it….
there are nights when they’re happiest and most content
with chicken nuggets or wholewheat pasta with parmesan!
I don’t usually eat the same dinner as my kids
{partly because I am vegetarian and the rest of my family is not}.
There are many nights that I make the kids a dish to eat…
and then don’t have the energy to prepare myself a decent meal.
One of the ways I have found to help tackle this issue is by making homemade soups!
I love making soups, because you almost can’t mess up!
Just like my mother,
I add a little bit of this…
and a pinch of that…
and it always turns out to be delicious!
This recipe for
is perfect because I can make it at my leisure during the day and then eat it when I am ready.
It keeps extremely well in the refrigerator for days on end.
**************************
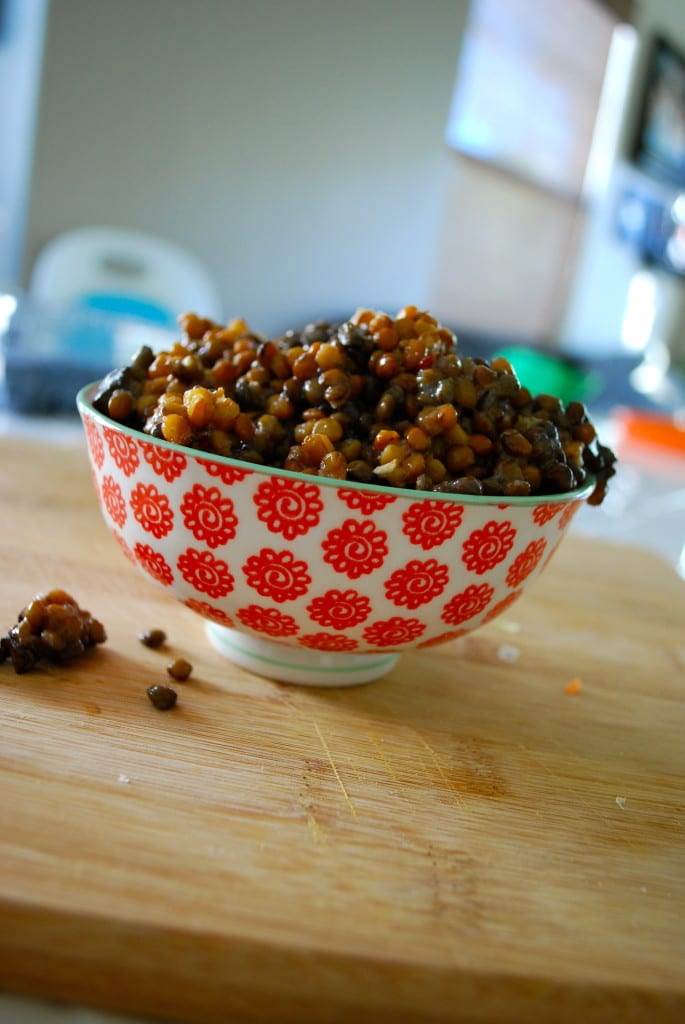
Lentils have become a mainstay in my diet and I must admit…
one of my favorite healthy, high-fiber foods.
Lucky for us we have a Trader Joe’s not too far away.
I buy most of our groceries there each week.
I have several go-to items
{which I promise to share with you in a later post},
but the pre-cooked, ready-to-eat, lentils are amongst the best if you are looking for a nourishing,
hearty and easy to prepare food
{you’ll find these in the refrigerated section near the produce}.
These little lentils are packed with nutrients and are the cornerstone of this recipe!
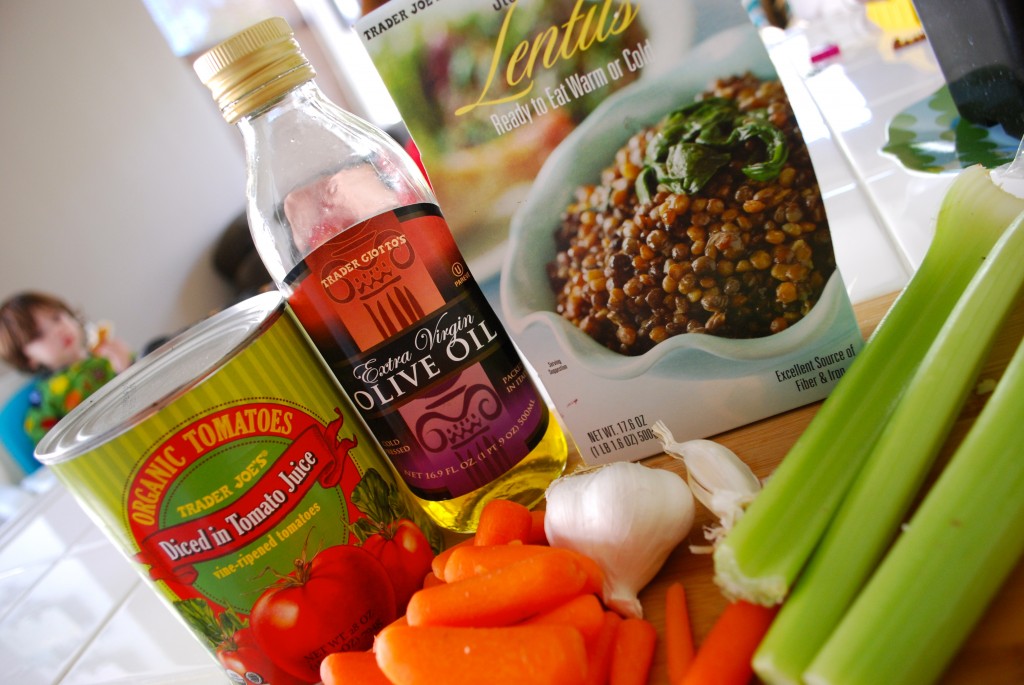
* 2 tablespoons olive oil
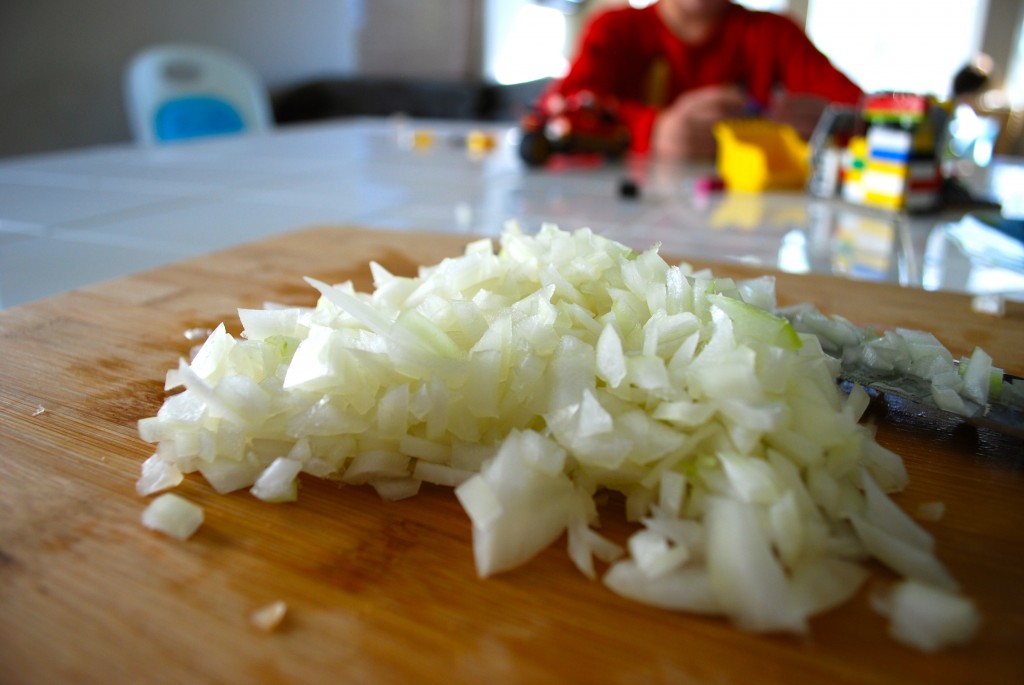
* 1 cup chopped onion
* 2 cloves chopped garlic
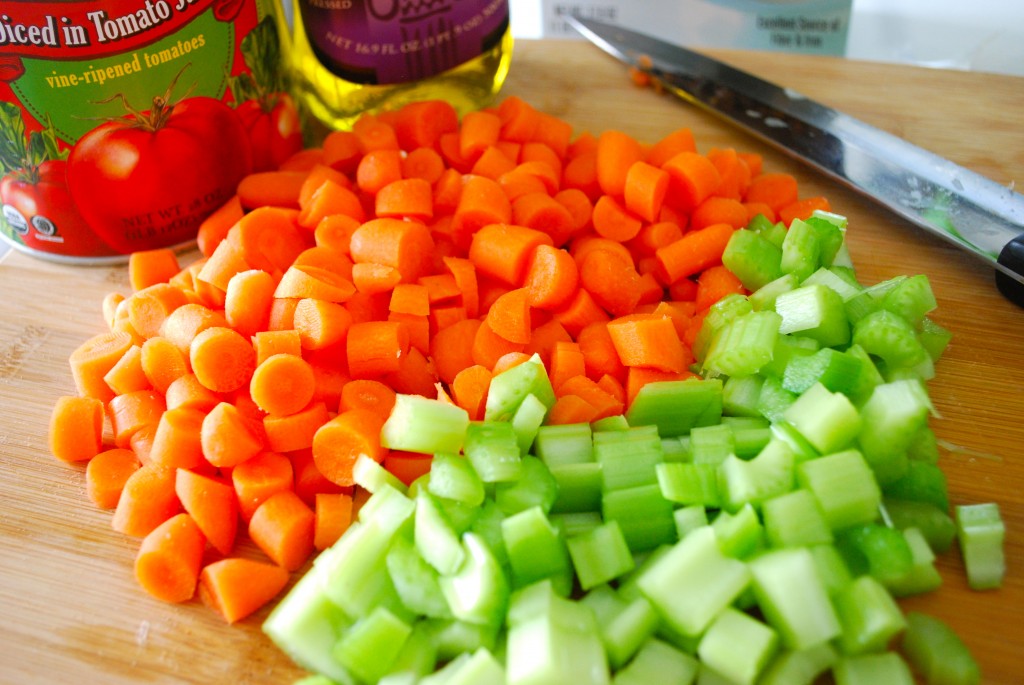
* 1 cup peeled & chopped carrots
* 3/4 cup chopped celery
* 1 large can diced tomatoes {I use the organic ones from Trader Joe’s}
* 1 tablespoon of 21 Seasoning Salute {also from Trader Joe’s} or your favorite mix of seasonings
* salt & freshly ground pepper {to taste}
* 1 package of Trader Joe’s ready-to-eat lentils {or 1 pound of rinsed lentils}
* 6 cups of fresh water or vegetable broth
* 1/2 cup of quinoa or rice {depending on your preference}
* 1 cup of freshly grated parmesan
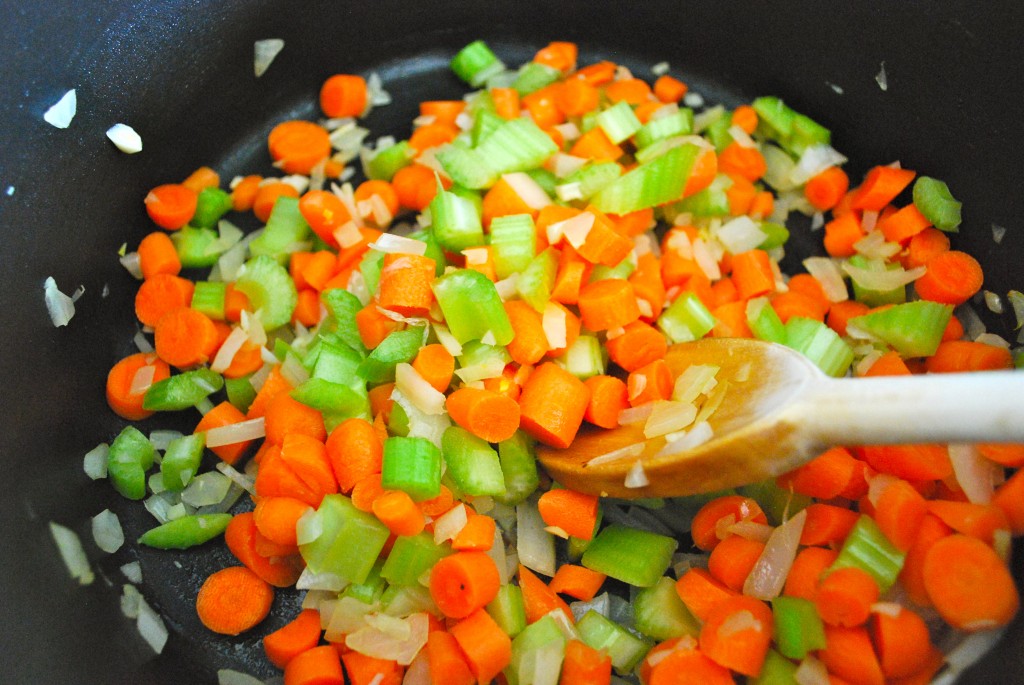
Heat the oil in a large pot over medium heat.
Add the chopped onion, garlic, carrots and celery.
Saute until all the vegetables are tender, about 5 to 8 minutes.
Add the tomatoes with their juices.

Simmer until the juices evaporate slightly and the tomatoes break down,
stirring occasionally, about 8 minutes.
Add the lentils and the quinoa/rice.
Mix to coat.
Add the water/broth and stir.
Add in ’21 Seasoning Salute’ or seasonings of your choice
{you can be a little creative here}.

Bring to a boil over high heat.
Cover and simmer over low heat until the lentils are almost tender, about 20-30 minutes
{20 minutes if using the pre-cooked lentils, about 30 minutes if using dry lentils}.
Season with salt and pepper, to taste.
Ladle the soup into bowls.
Sprinkle with fresh parmesan and serve warm!


I hope you decide to make my favorite soup recipe!
I promise it is quick, easy, and completely tasty!
Each healthful bite is packed with nutrients that your body will love!
**************************
Just in case you were wondering what my silly four were doing while mama was cooking…

Finner has a slight obsession with Sophia’s Hello Kitty sunglasses!!

Our weekend pajama morning! Mr. Finn saying, “cheese!!”

An everyday occurrence in our house… a sword fight, with Miss Blue stuck in the middle!

My sweet & sassy little sunshine… stick in hand {probably to protect herself from her three brothers}!!
sounds very tempting right?
Well it can be part of a healthy resolution with
this recipe adapted by Skinny Taste.
I love coming across recipes that taste
as good as their original.
This recipe is fairly simple and
the best part of it is that the list of ingredients
are items often in my
fridge or panty.
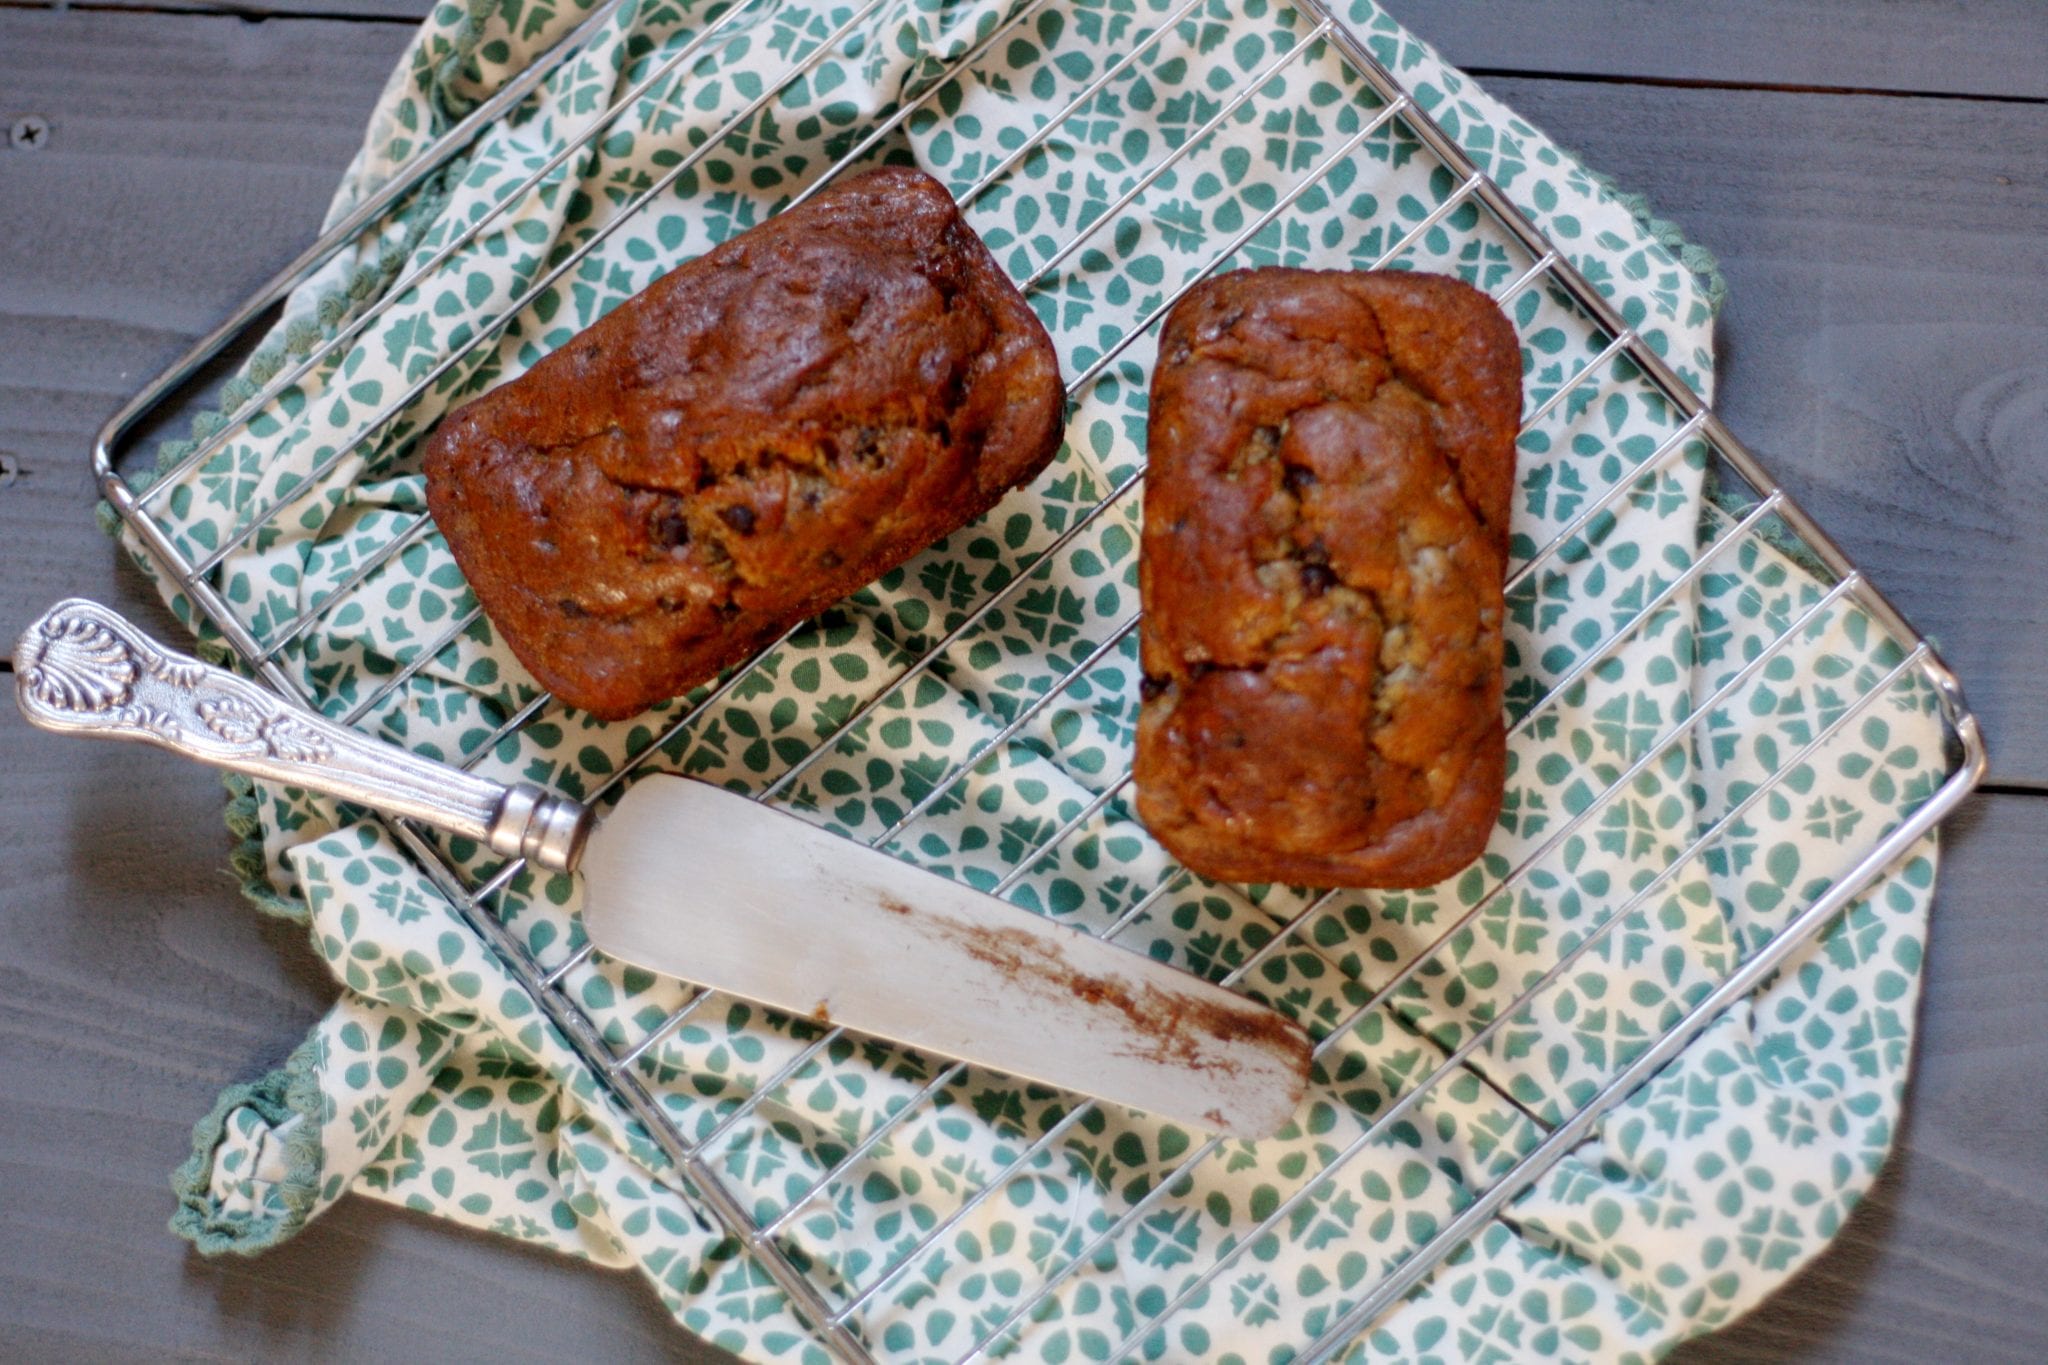
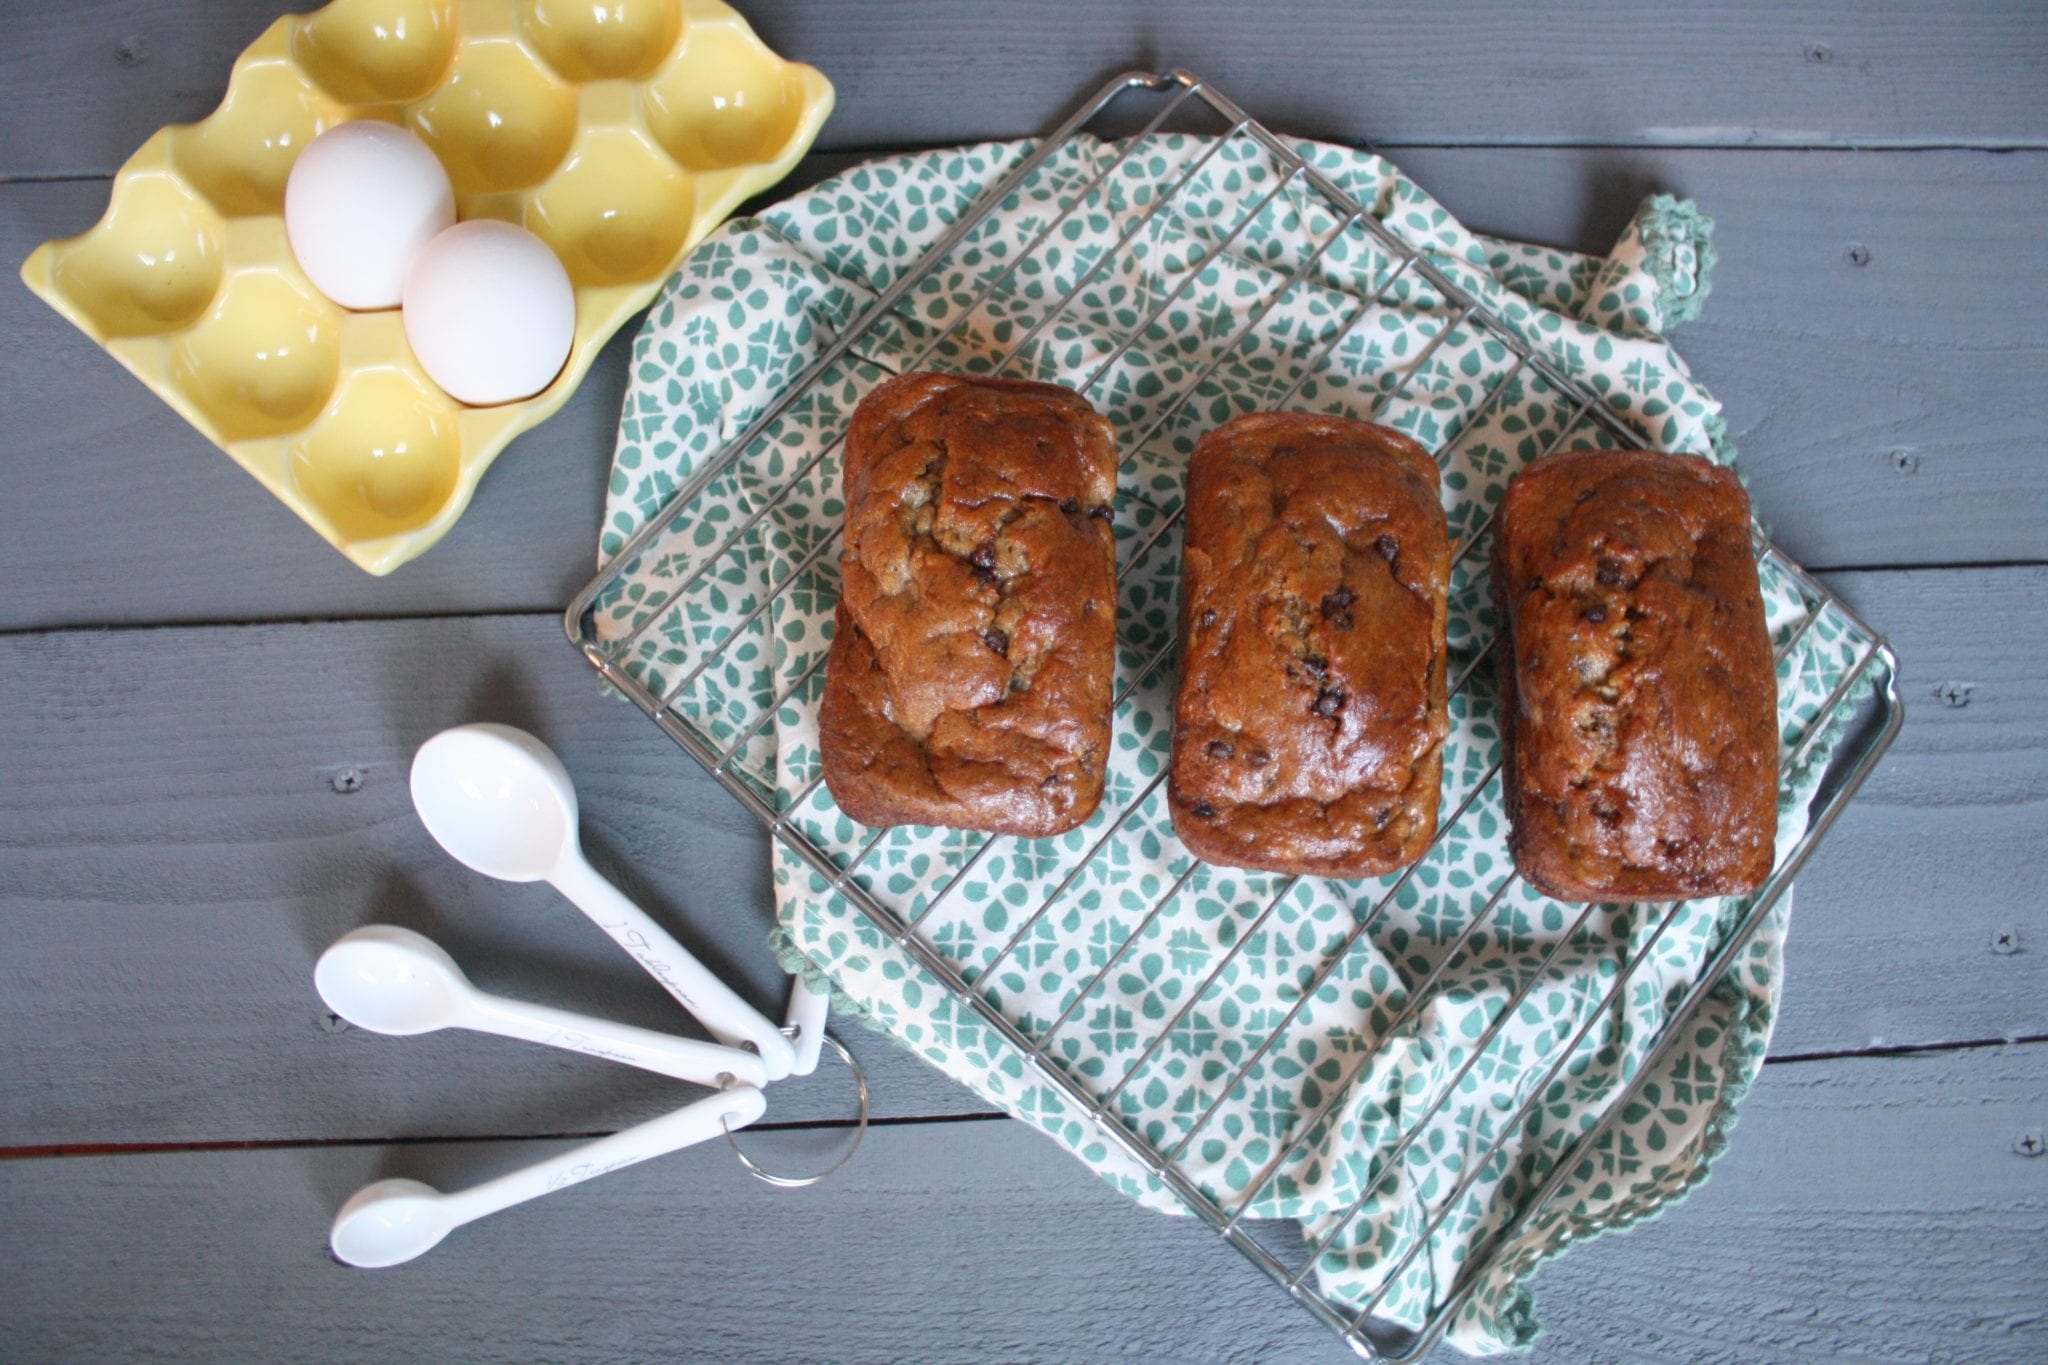
The perfect chance to use up
those ripe bananas that are past
cereal prime.
* 3 medium ripe bananas
*1/3 cup chunky apple sauce
* 1 1/4 cup white whole wheat flour
* 3/4 teaspoon baking soda
* 1/4 teaspoon salt
* 2 tablespoons unsalted butter softened
* 1/3 cup brown sugar
* 2 large egg whites
* 1/ 2 teaspoon vanilla
* 1 1/2 ounces of mini chocolate chips
* cooking spray for the loaf pan
{spray a loaf, muffin, or mini loaf pan}
* I decided to try out my mini loaf pan*
In a small bowl mix together the flour, baking soda, and salt.
Set aside.
Place the brown sugar and melted butter into a mixer fitted with a paddle.
Mix until the sugar and butter are incorporated,
then add the egg whites and combine.
Then add the applesauce, bananas and the vanilla.
* I prefer chunky sauce and I break up the bananas instead
of mashing them as the mixer does the job and makes the bread
richer in taste.
Mix well then add the dry ingredients slowly a 1/2 cup at a time
and then add in the mini chips on low speed,
for a couple seconds so that you don’t create a dense bread.
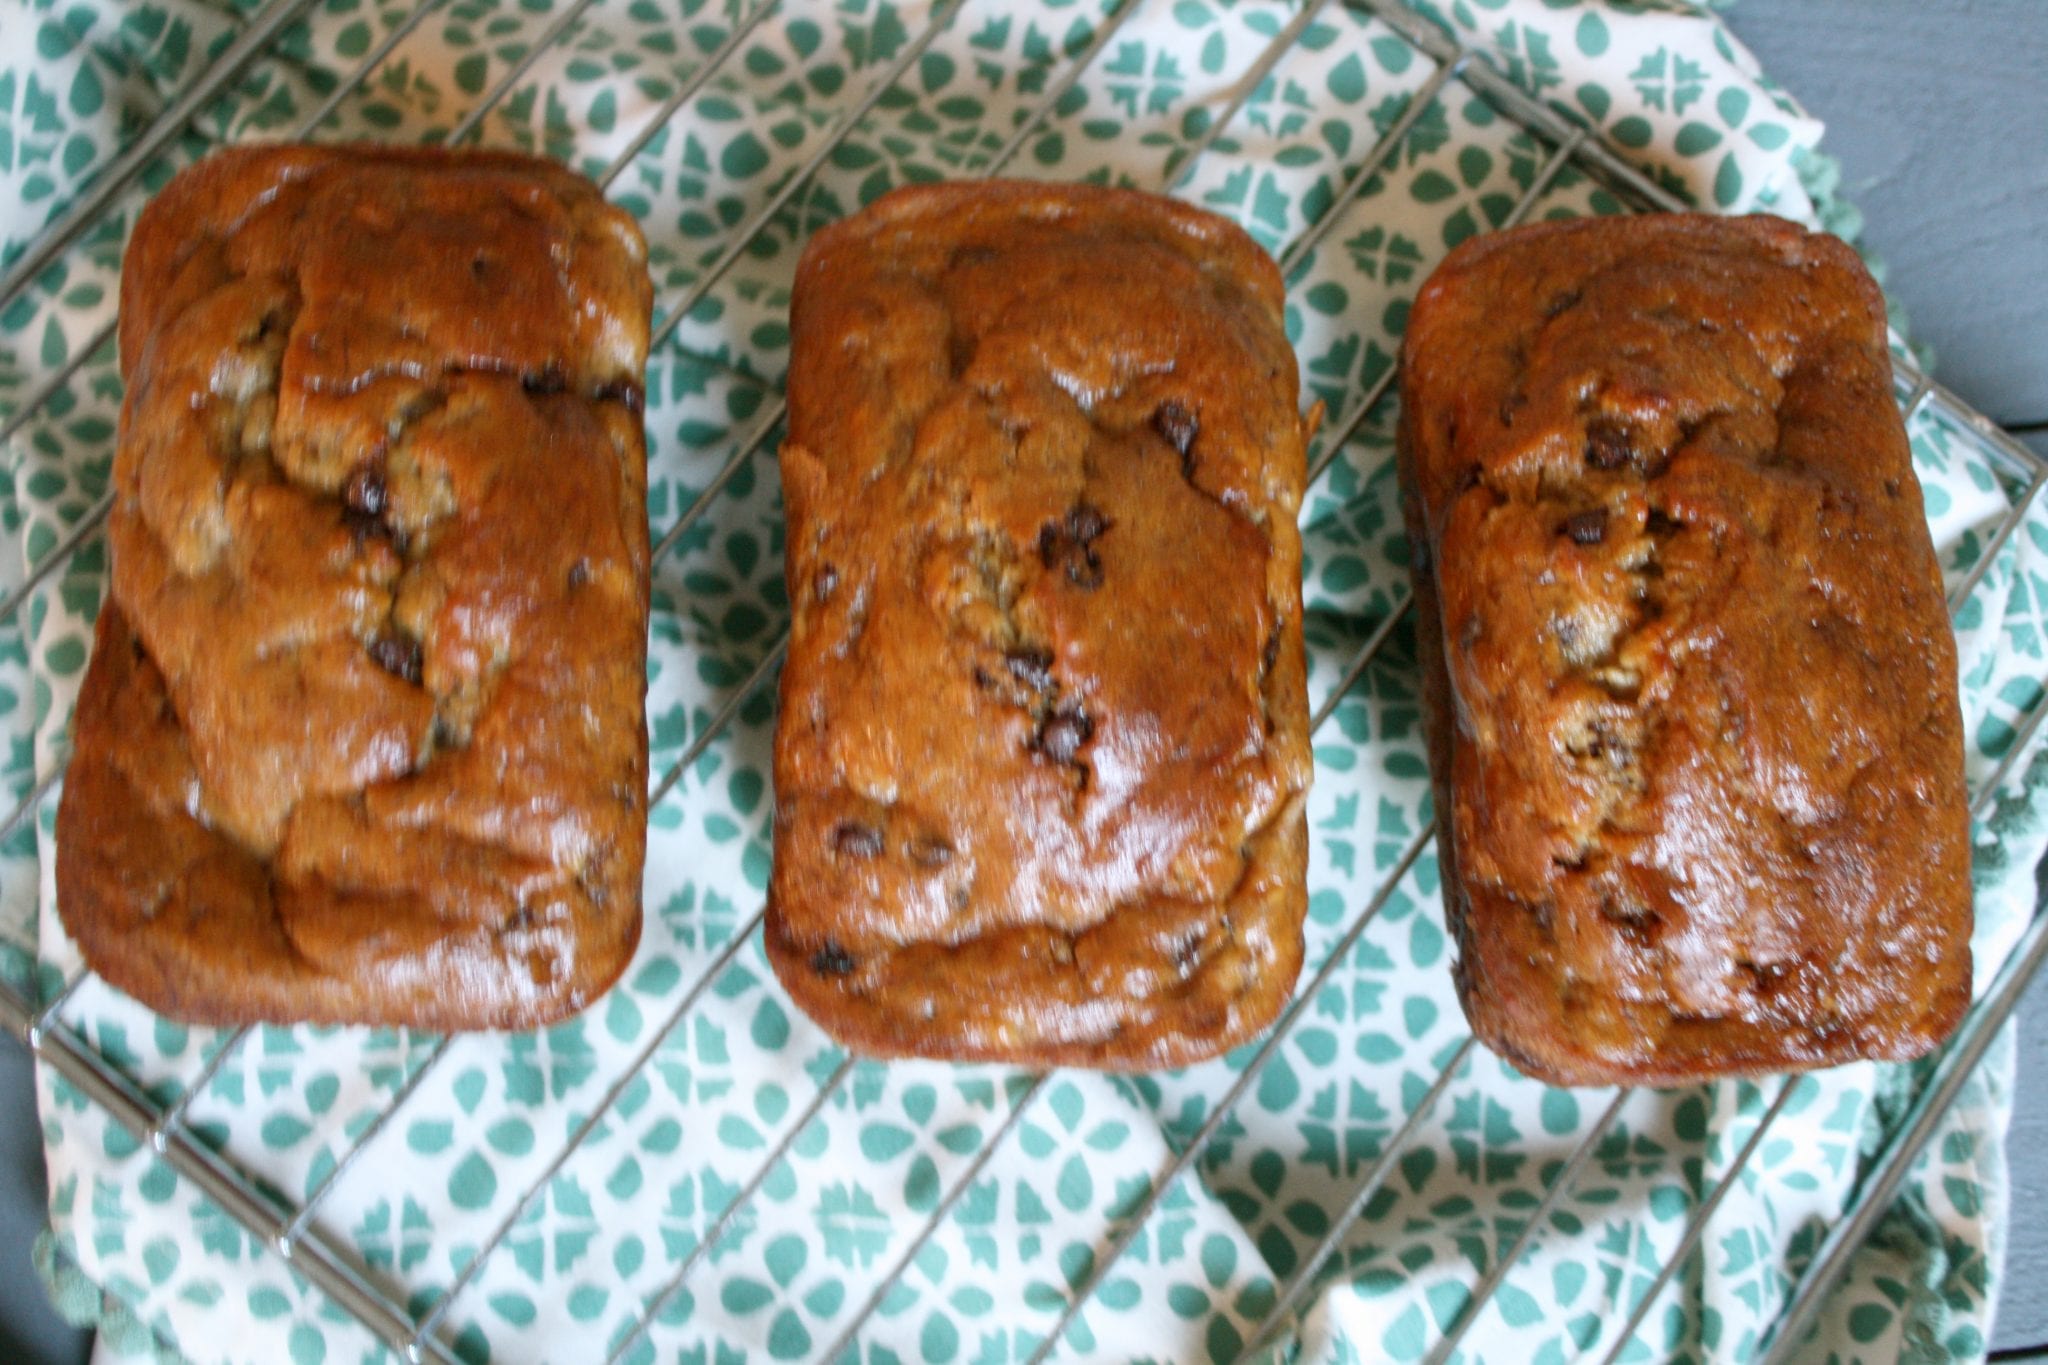
Pour the mixture into the baking pan of your choice.
Pop this into the oven at 325 degrees for 40 minutes.
If you are doing muffins I find they cook in half the time so check on these.
Test the middle of the bread with a toothpick to make sure
the middle is baked all the way,
take out of the oven and let it rest until it’s cooled.
Your house will smell delightful
and your tummy will enjoy this wonderful
treat all while being low in fat and high in taste!
Enjoy and save me a slice!