School has been back in session for approximately a month now. We are still working out the kinks and are preparing ourselves for the upcoming homework load that will start next week. These sensory bags are a project that I sought out for Mason to help him prepare for doing homework and transitioning time in the classroom. As some of you readers may know, my son is on the Autism Spectrum. I have written about my experience with Autism {here and here} and have had hopes to help others whom are in the midst of the chaos of their diagnosis. We keep Mason on a sensory diet, in which we use methods of physical activity before and during school to keep him focused in the classroom.
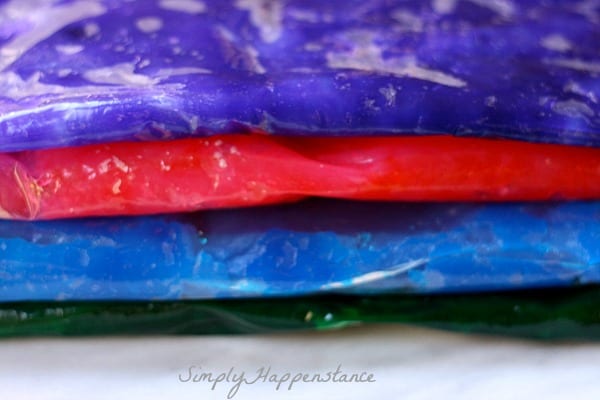
In school he has a quiet corner and a box of small items in which he can use to play with that allow him to get back on task. I thought these sensory bags would be a great fidget toy for his box at school, as well as at home. These sensory bags are terrific for any child that may need a break in-between tasks or long periods of home work. These squeezable bags, that are filled with a jelly material, allow a child to regroup and organize their thoughts when they’re distracted by their environment. Mason’s sensory issues cause him to be overloaded by the activities on the playground, making it hard for him to transition from the play yard to the classroom after lunch.
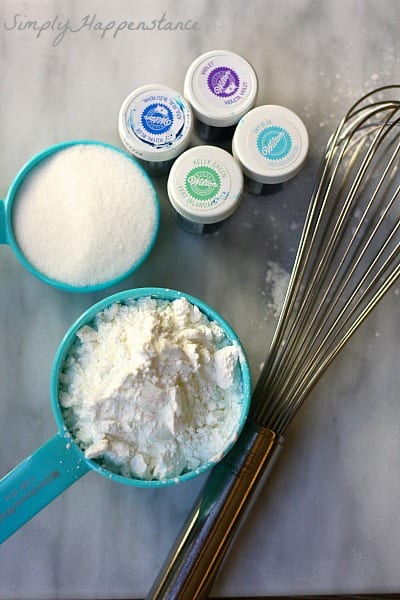
These bags need a few ingredients, that you might likely have in your pantry. Recipe adapted from Hello Bee.
8 cups of water
2 cups of cornstarch
2/3 cups of sugar
4 gallon sized freezer bags
4 gel or liquid food coloring jars
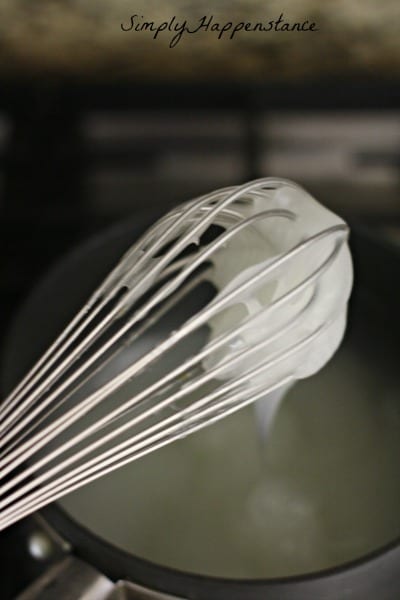
In a large pot combine water, cornstarch, and sugar.
Place on medium heat.
Mix with a whisk for approximately 10 minutes until mixture becomes clear and sticky like Vasoline.
Remove from heat and let rest until the mixture is cooled.
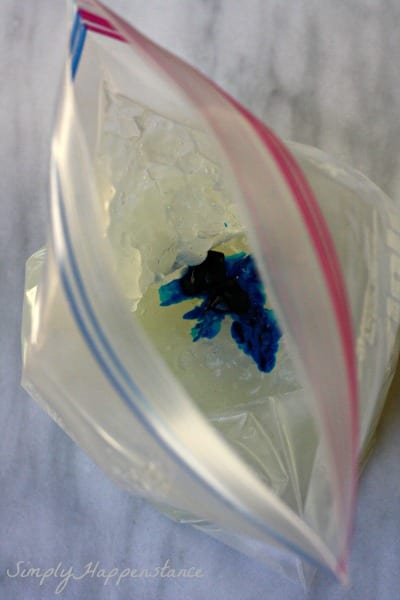
Spoon in 1/4 of the mixture into a gallon sized freezer bag.
Squirt or spoon in food coloring.
Close freezer bag.
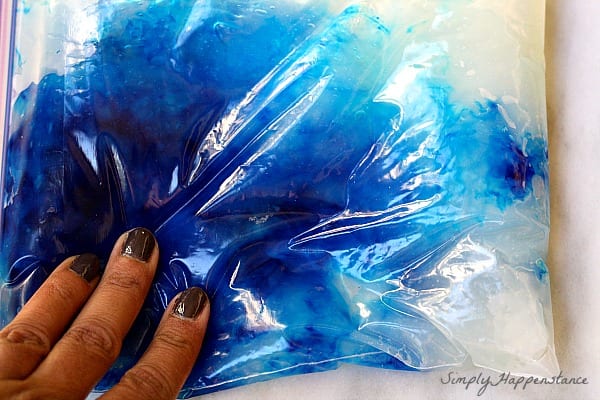
Squeeze and squish the gel material with the food coloring until all is mixed together.
Repeat 3 more times.
There you have your own homemade sensory bags. I hope you enjoy making these! They are a fun weekend project and a simple way to relieve a little stress. All of that squeezing and squishing can hopefully get your child back on track to focus on the subject at hand. We hope you try these out. Let us know what you think!
6 Comments
I have used this same recipe to create an enormous “Walking” sensory bag. Love the ides to use it in smaller bags. At school, we use stress balls to help c=some of our children focus during center and group time. They work great and I believe these would as well. Thank you for sharing!
Wow Jessica the walking bags sound amazing! We appreciate you stopping by. My son has a stress ball at school too. It works as well. We are willing to try anything to help him focus during center time and independent work in the classroom. You seem to know a bit about the topic. Love that! Hugs,Nicole
Your point of view caught my eye and was very interesting. Thanks. I have a question for you.
Your point of view caught my eye and was very interesting. Thanks. I have a question for you. https://www.binance.bh/register?ref=IXBIAFVY
I don’t think the title of your article matches the content lol. Just kidding, mainly because I had some doubts after reading the article. https://www.binance.com/en/register?ref=JHQQKNKN
Your point of view caught my eye and was very interesting. Thanks. I have a question for you. https://www.binance.bh/register?ref=W49FLGDN